How to Use Ulike Air 3 IPL Device? (Step-by-Step)
Learning how to use the Ulike Air3 IPL device will make you treat the whole body within a shorter period, safely and effectively. Achieving hair-free skin depends on how well you prepare your skin and the energy level you use.
Unlike other at-home IPL devices, Air3 has multiple energy levels to suit the skin sensitivity in every part of your body. Master these energy levels you’ll have a nearly painless hair removal experience.
Your skin hair thickness, skin tone versus hair color contrast, and hair growth rate differ from mine. So should be the hair removal intervals. Do you want to achieve the best results within three months?
Then keep reading this simplified guide.
Ulike Sapphire Air3 IPL Unboxing
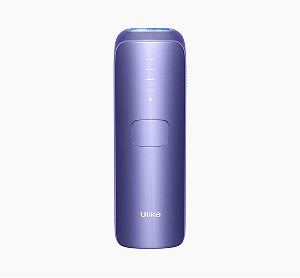
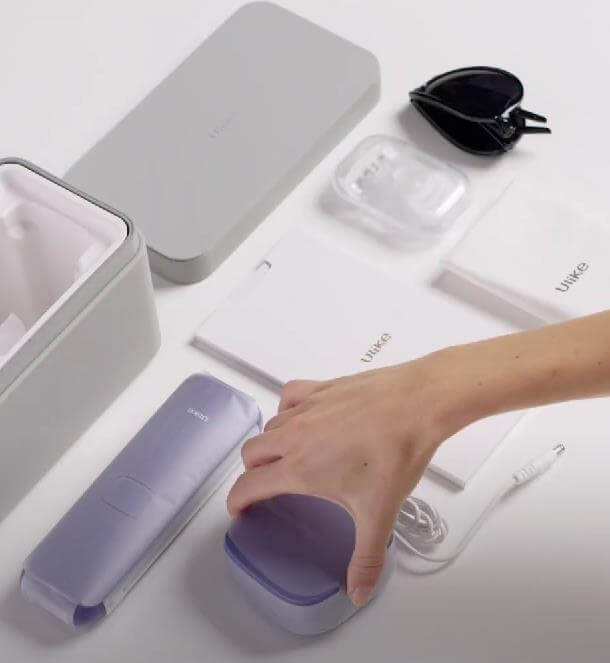
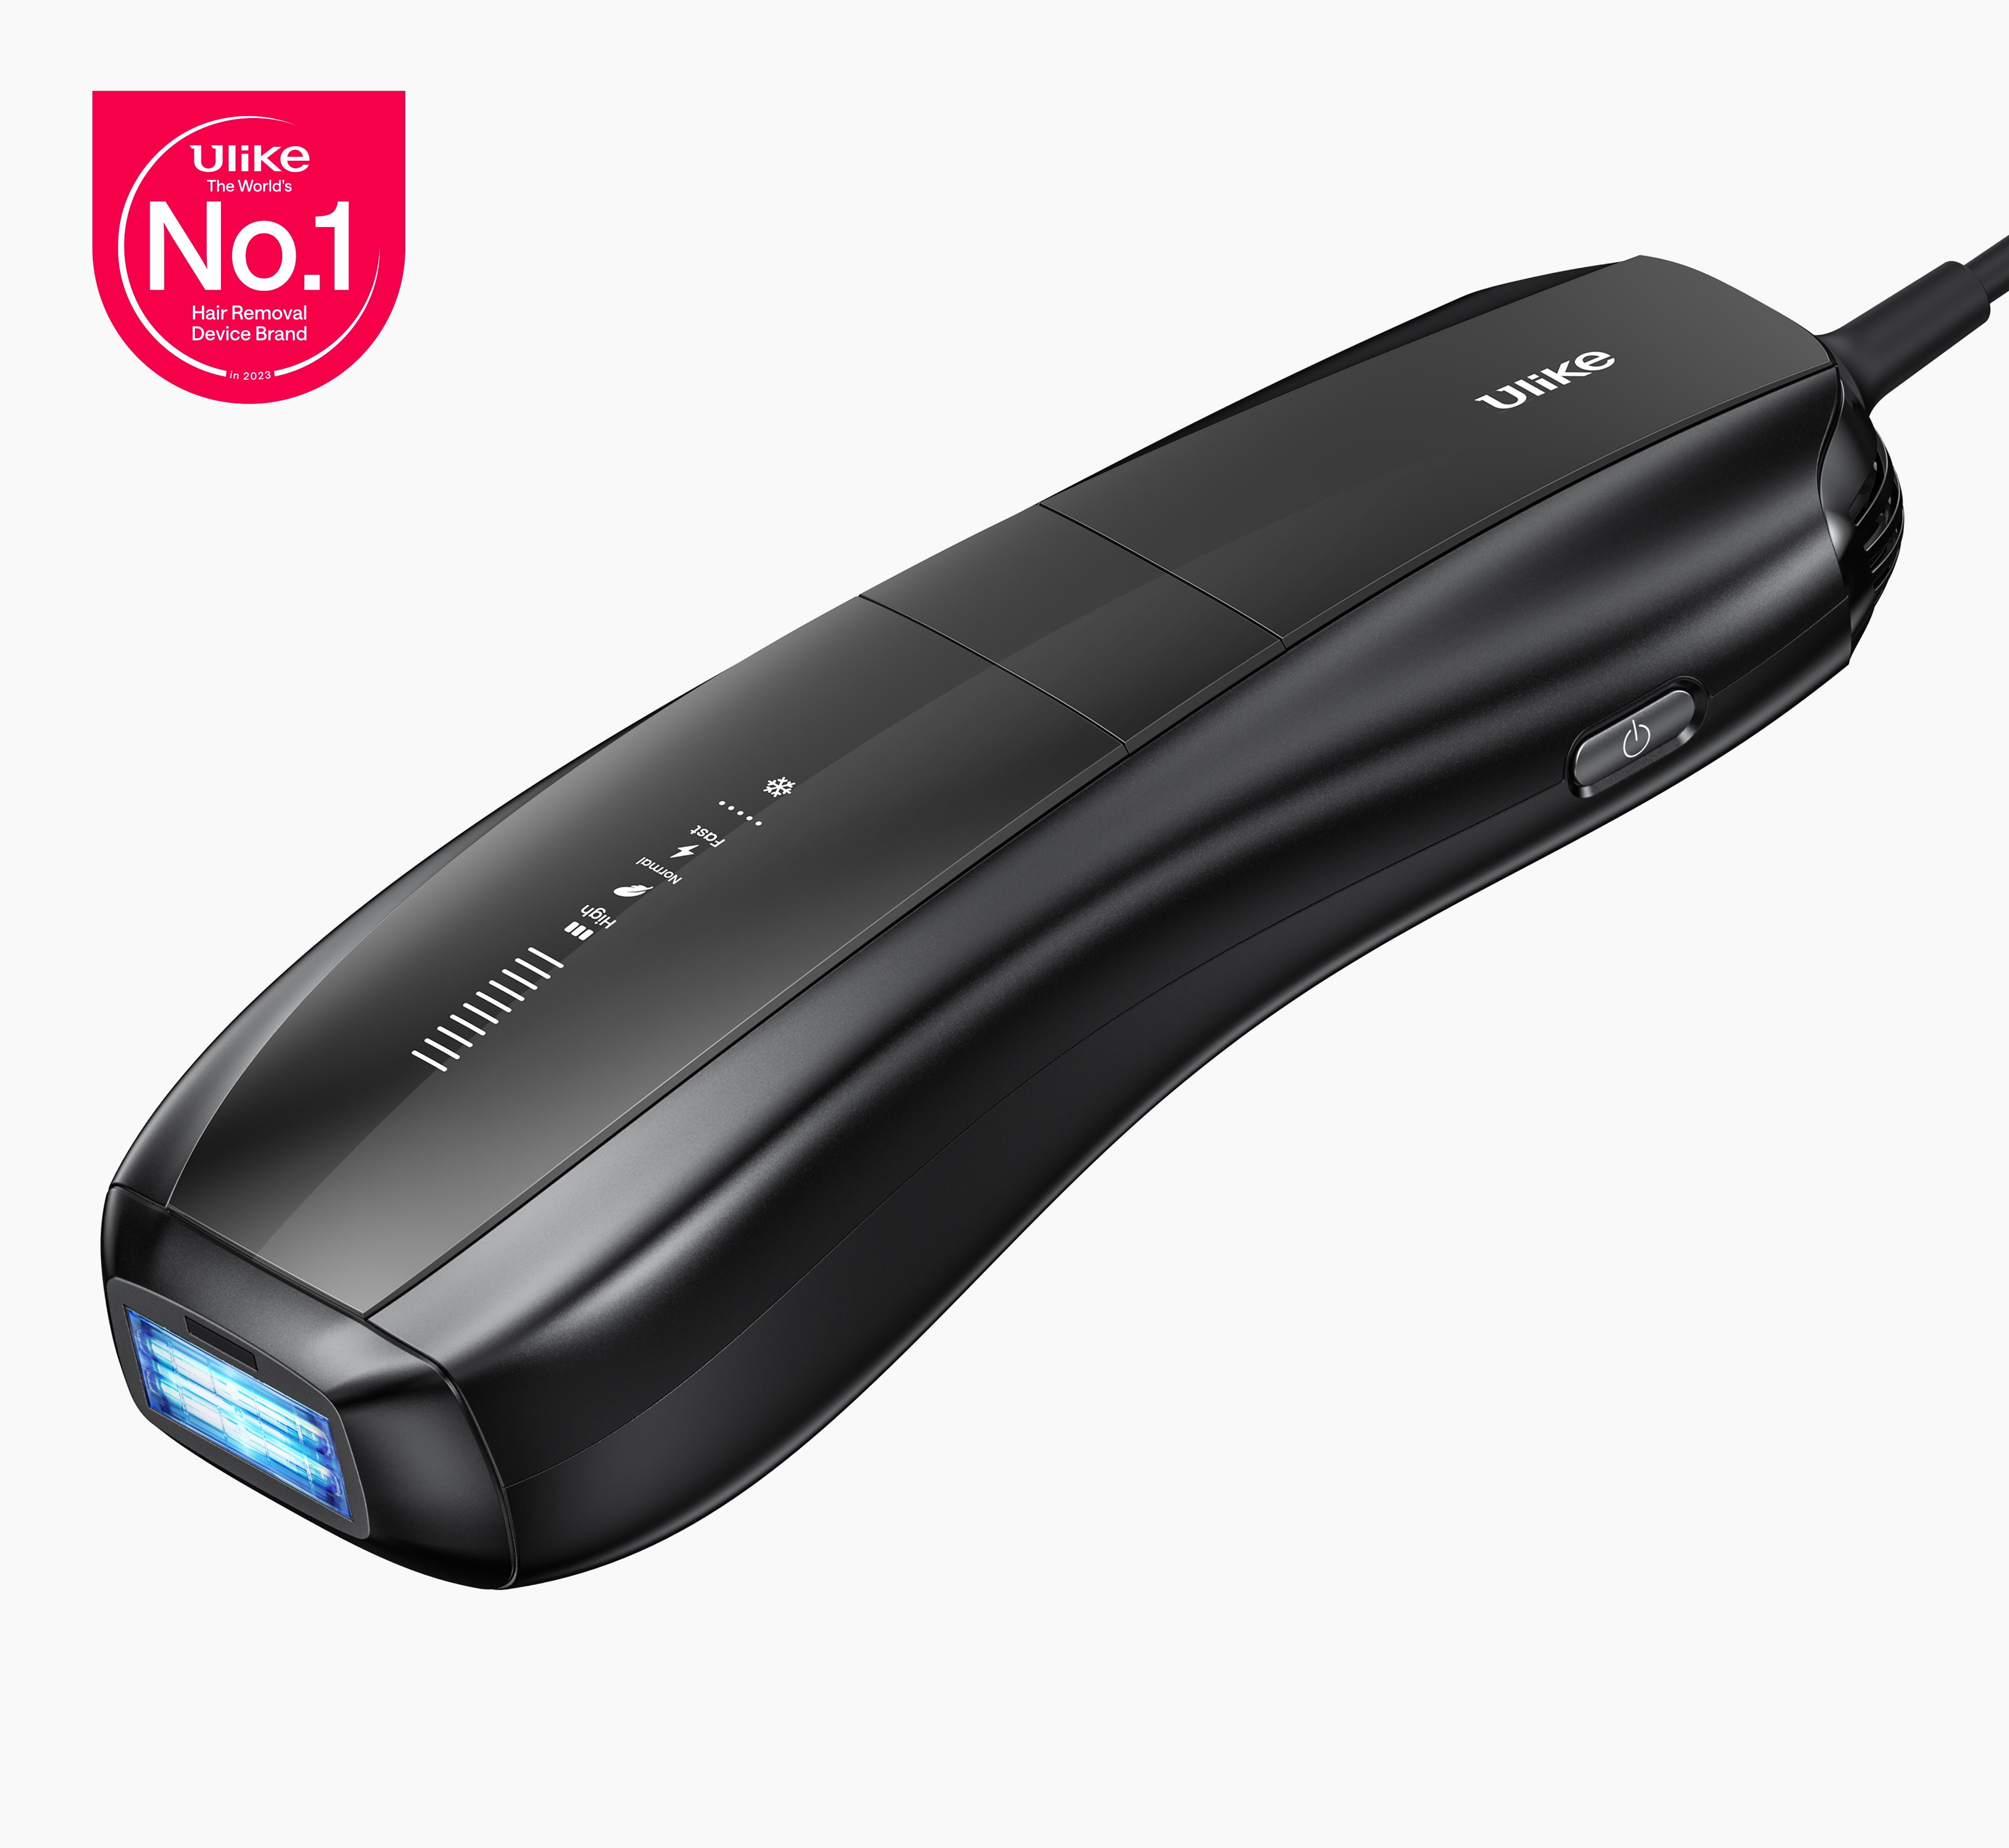
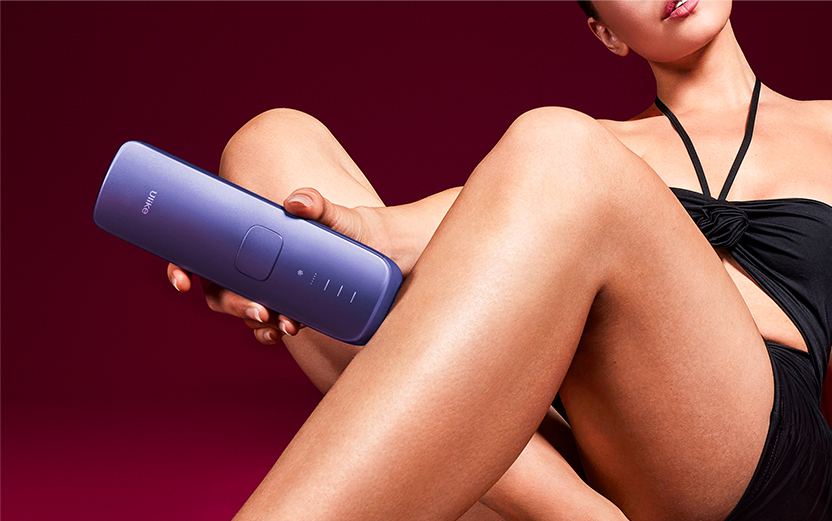
If it’s your first time acquiring Ulike Air3, all you need for hair removal is in the package. For easy packaging, the adapter, and power cables are separate. Equally, the Air3 device is designed cordless making it portable and simple to package. This device is available in two colors – Purple and White.
You’ll have to connect the adapter to the cable extending to the power socket.
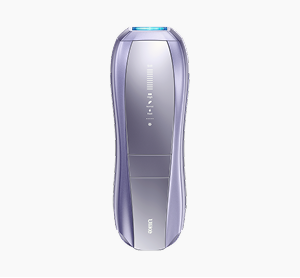
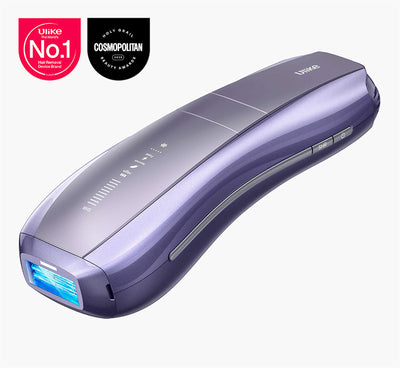
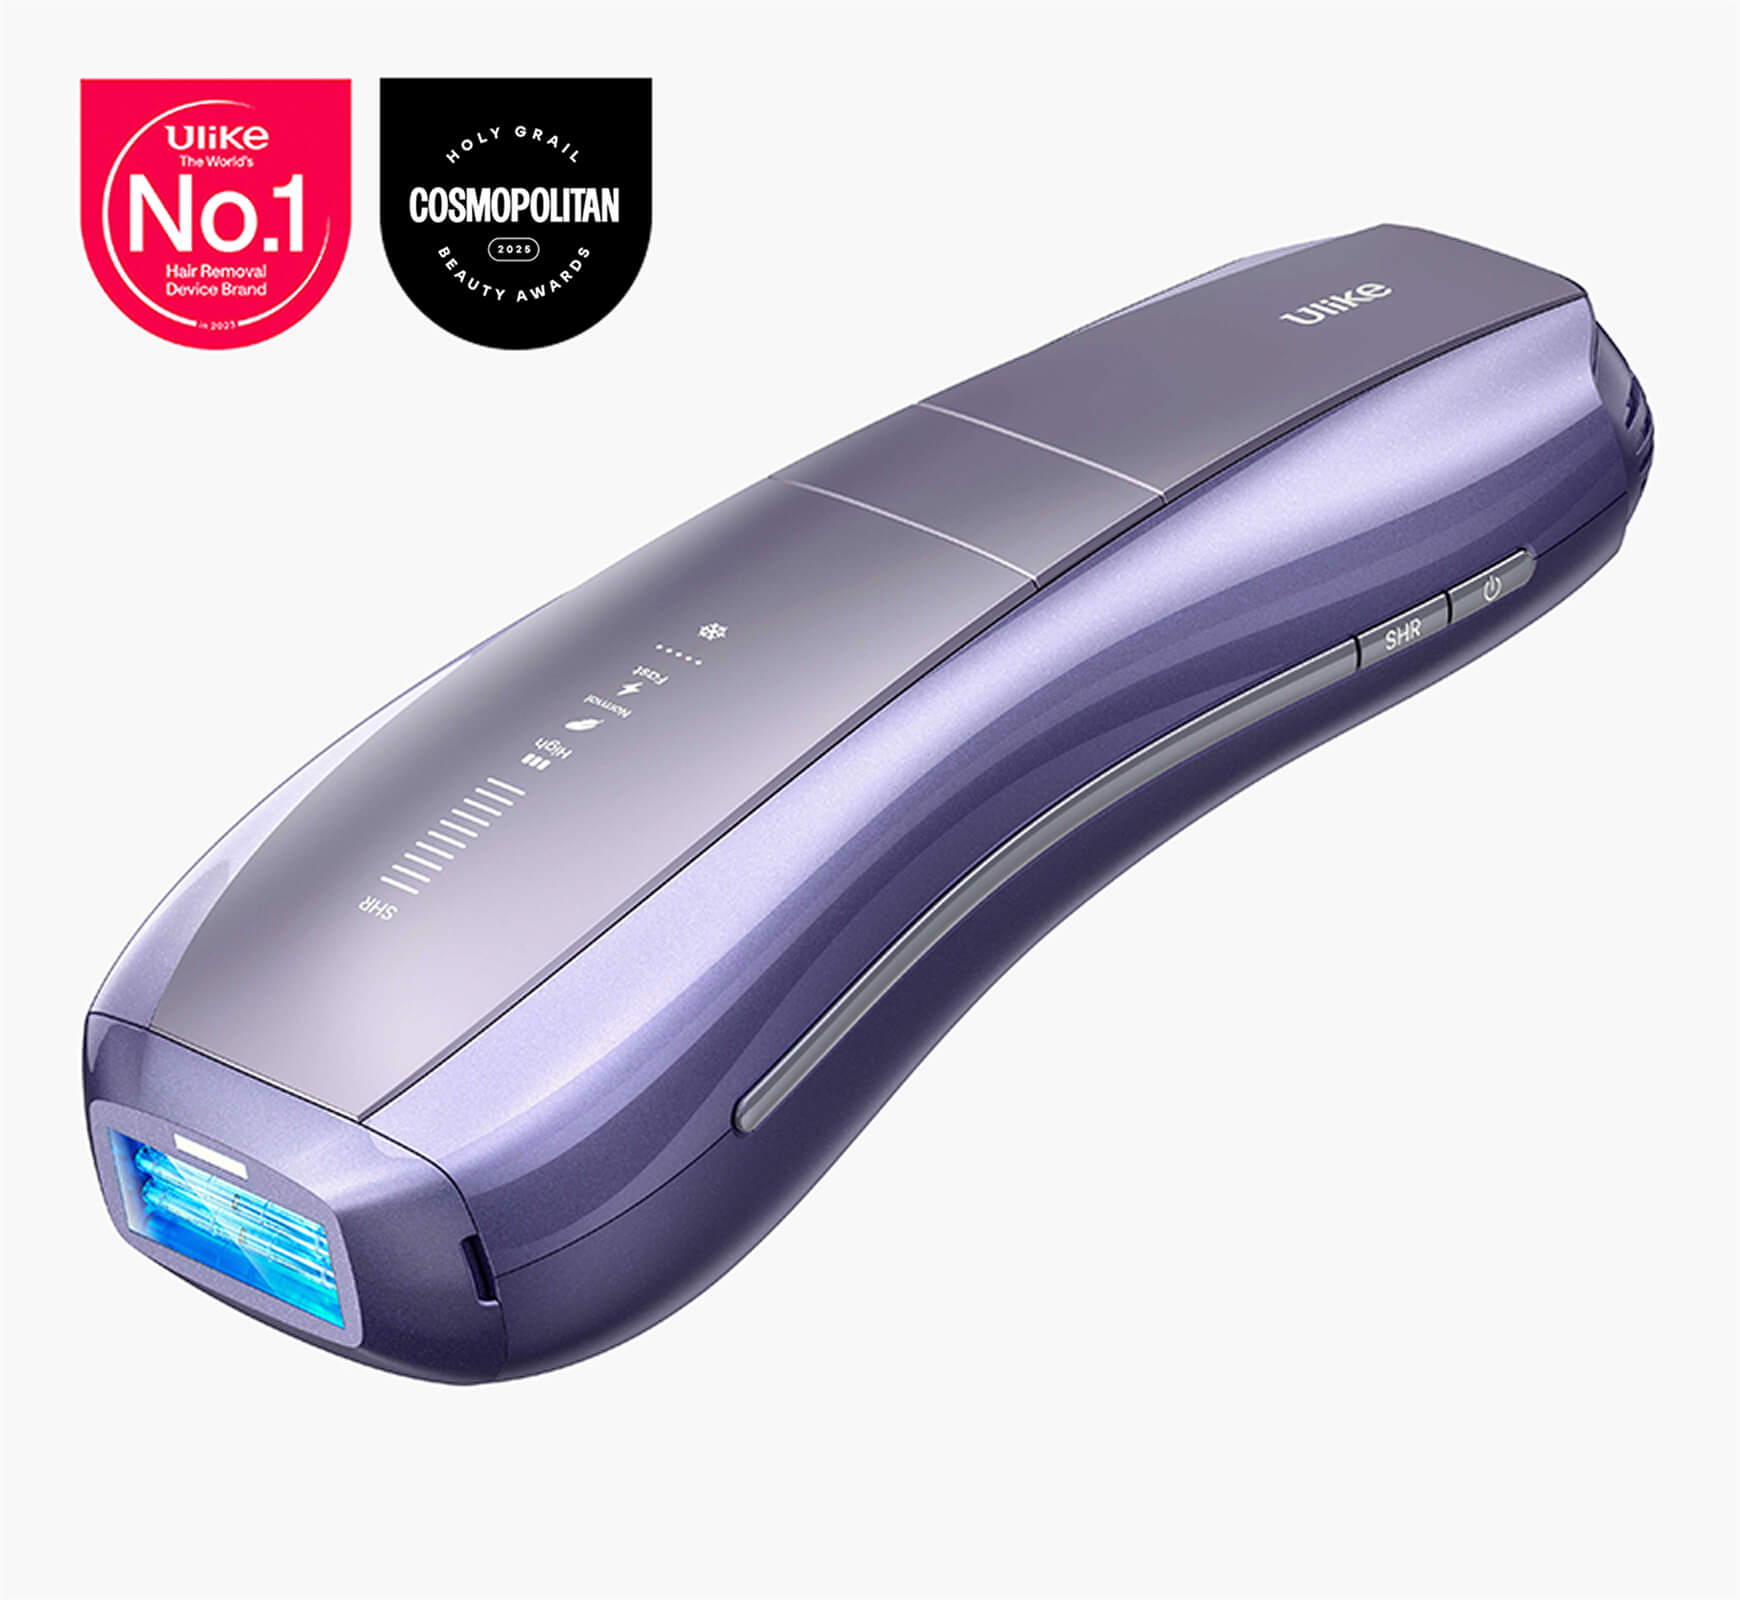
Ulike Sapphire Air3 IPL, the main gadget in the package, is an IPL device for at-home hair removal. To destroy the hair follicles responsible for hair growth, this device emits 21J of energy that’s absorbed by the hair pigment and then transferred to the follicles. This destroys the hair follicles making the hair unable to regrow.
How to Use Ulike Air 3 Step-By-Step?
Using Ulike Air3 is simple. But only if you understand how to play with the control buttons correctly. Anywhere hair grows on your body; you can use this at-home IPL handset device. Where and how you use the spot, auto-glide, gentle mode, or body mode determines your IPL hair removal experience.
Follow these steps;
Step 1: Plug In and Click the Power Button
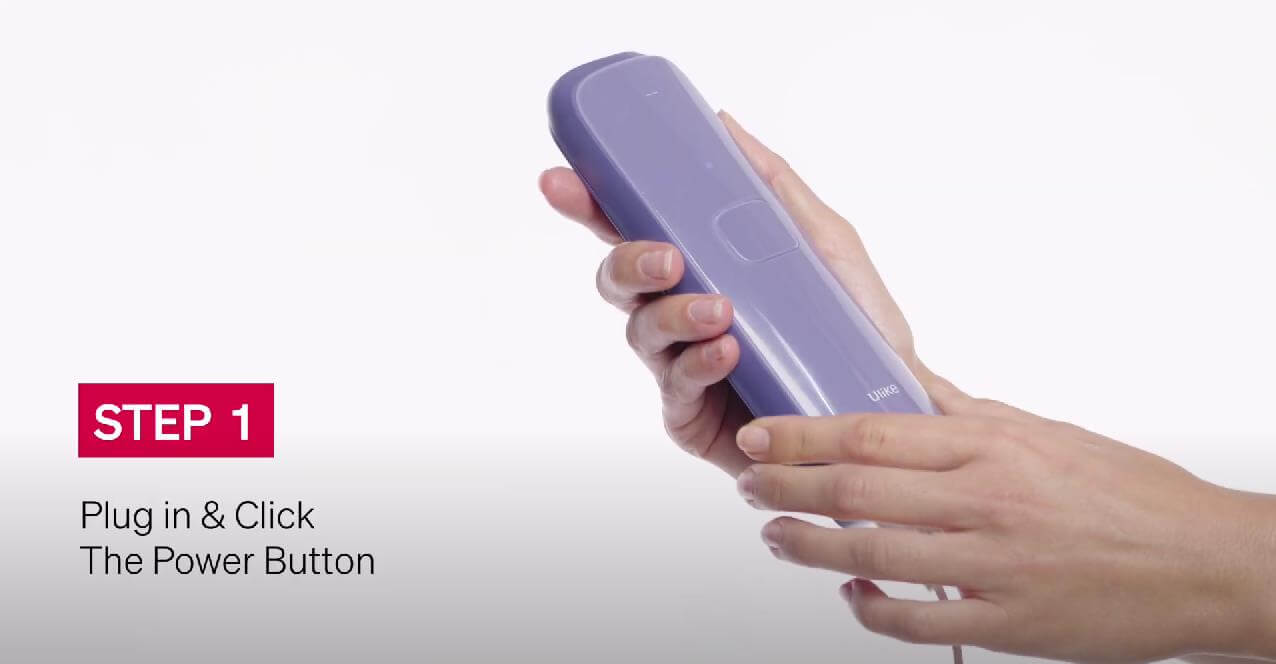
With all hair removal essentials on your vanity table, start by connecting the power cable to the adapter. Next, plug in the cable to a power socket. With the Air3 in your hands, plug in the charging cable to the device’s charging port.
Let’s now power this device. To the left side of the device just at your fingertips is the power button. Click it once and release it to switch on the device.
Step 2: Select Intensity Levels
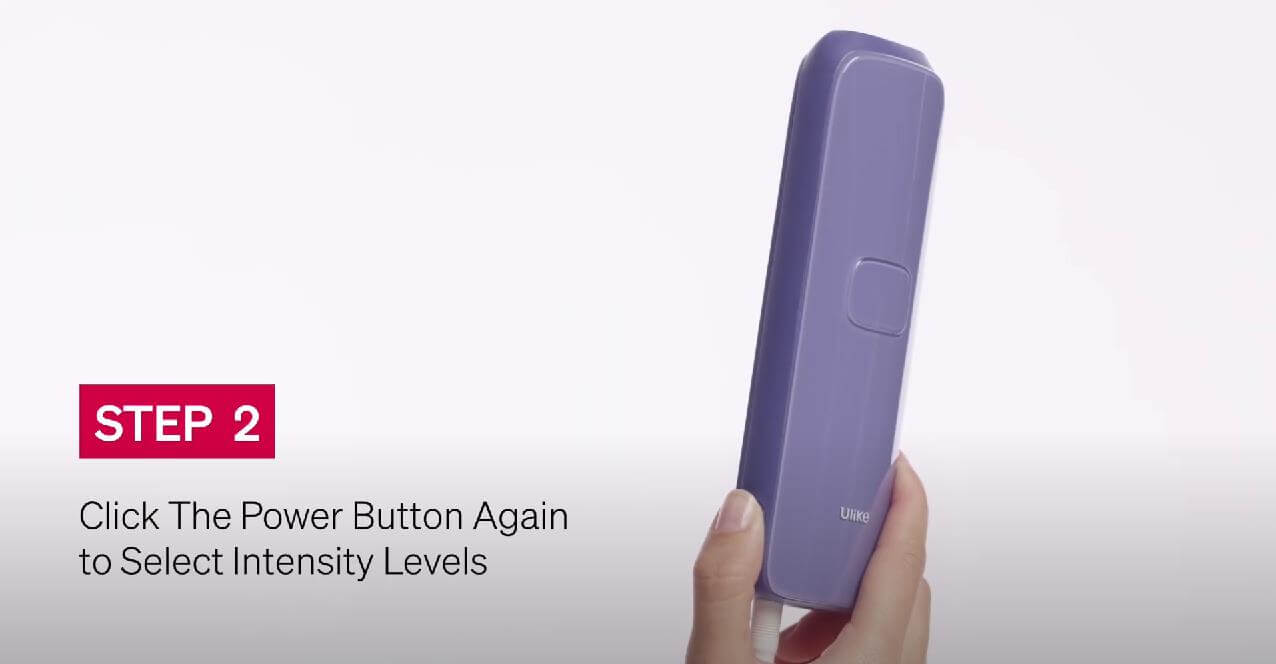
The power button you use to power on Air3 is the same button you use to select intensity levels for a relatively nearly painless experience. Air3 has multiple light intensity levels which you adjust as you do a patch test on your skin. The different intensity levels are meant to make this IPL device safe for every skin.
With the device on, hold the light outlet area onto your skin then press the power button to start setting the right level based on your skin sensitivity, pain threshold, and pain tolerance. Start from the lowest light intensity level, level up, and each level will display at the indicator lights on the front side.
Step 3: Prepare the Skin
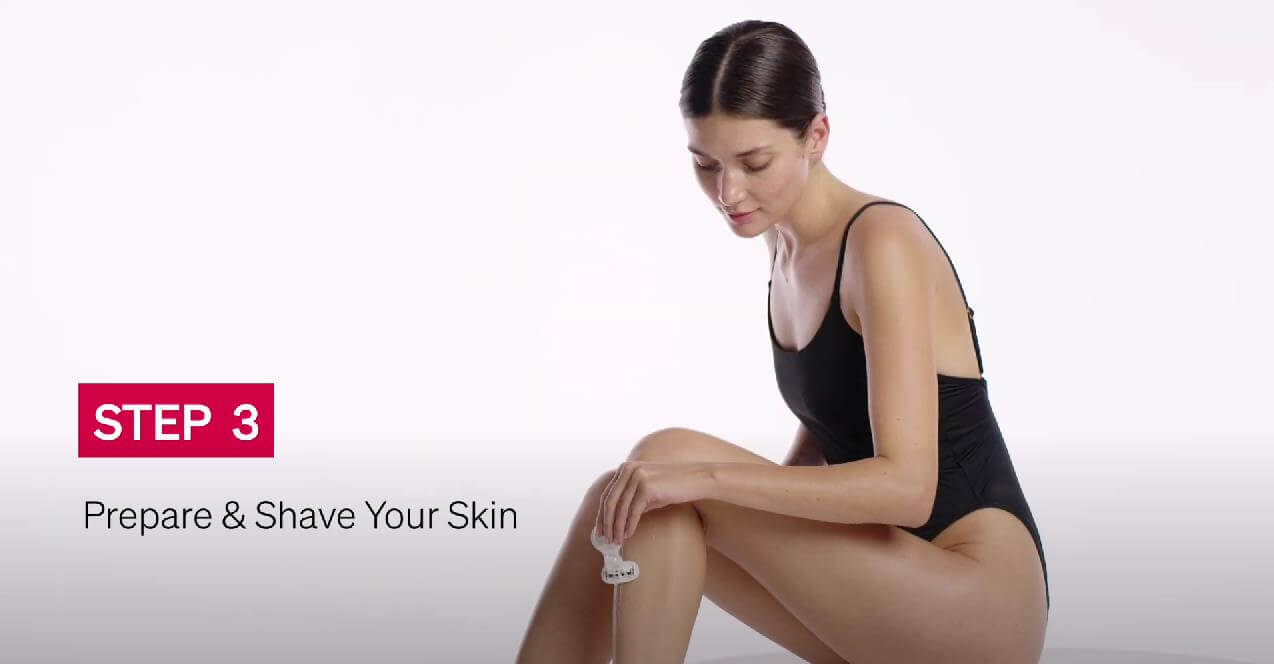
The intense pulses of light need to be transmitted directly to the hair root. You, therefore, have to prepare the skin to eliminate any particle that’ll obstruct the right from reaching the hair root.
Skin preparation involves shaving, cleaning, and drying. Using the razor included in the package, shave the hair off the areas you’ll treat. Using warm water, clean the shaved areas and use a dry towel to wipe out the wetness on your skin.
Step 4: Google Up
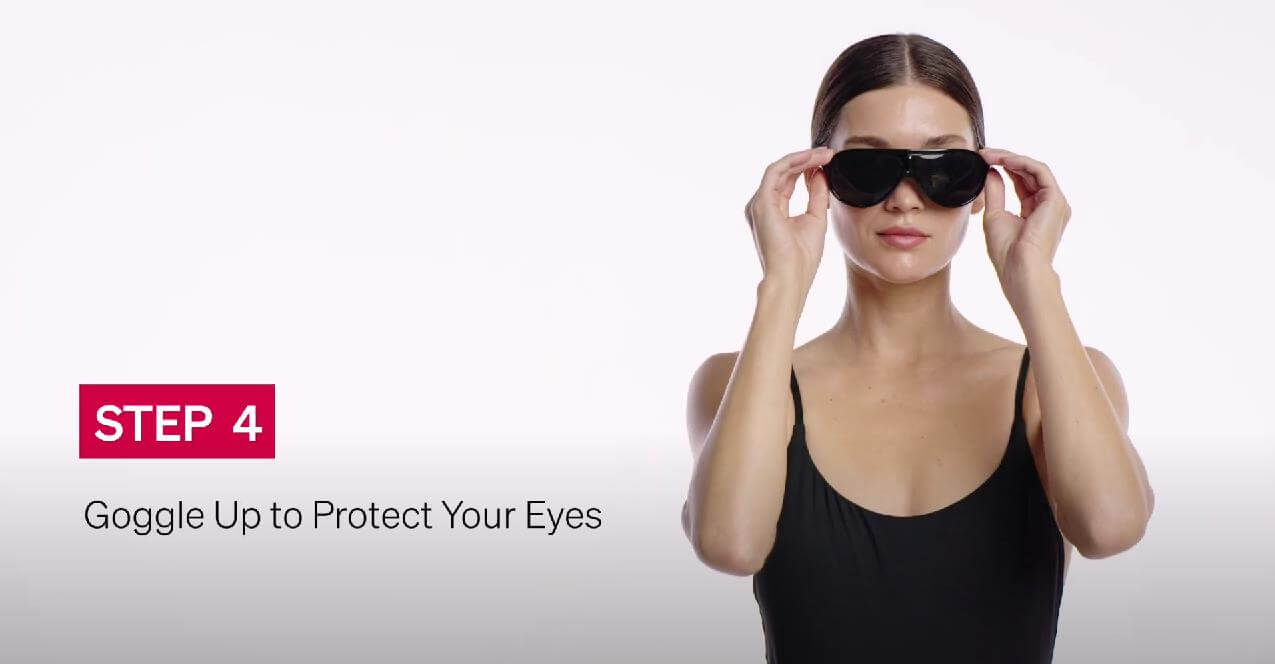
As the intense light zaps on your shaved skin to destroy the hair follicles, Air3 produces flashes. And with the flash frequency being as high as 86 per minute, you’ll need to protect the eyes when doing facial hair removal.
Pick up the goggles in the box and goggle up.
Step 5: Start the Hair Removal Process
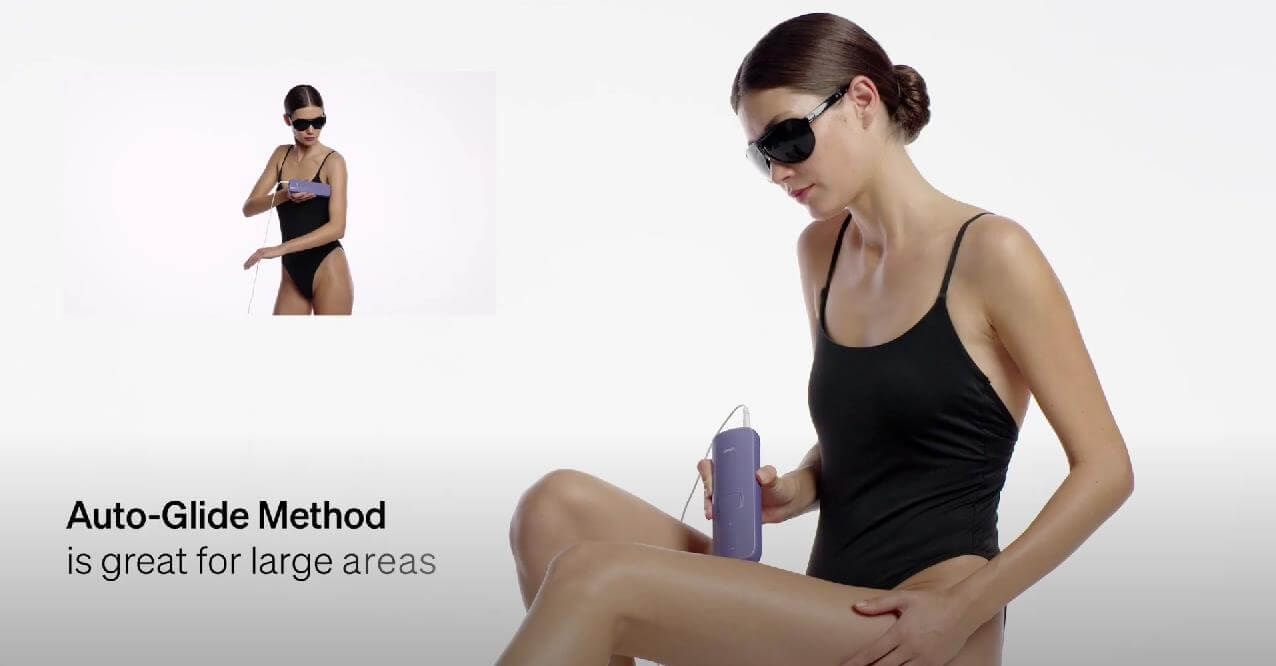
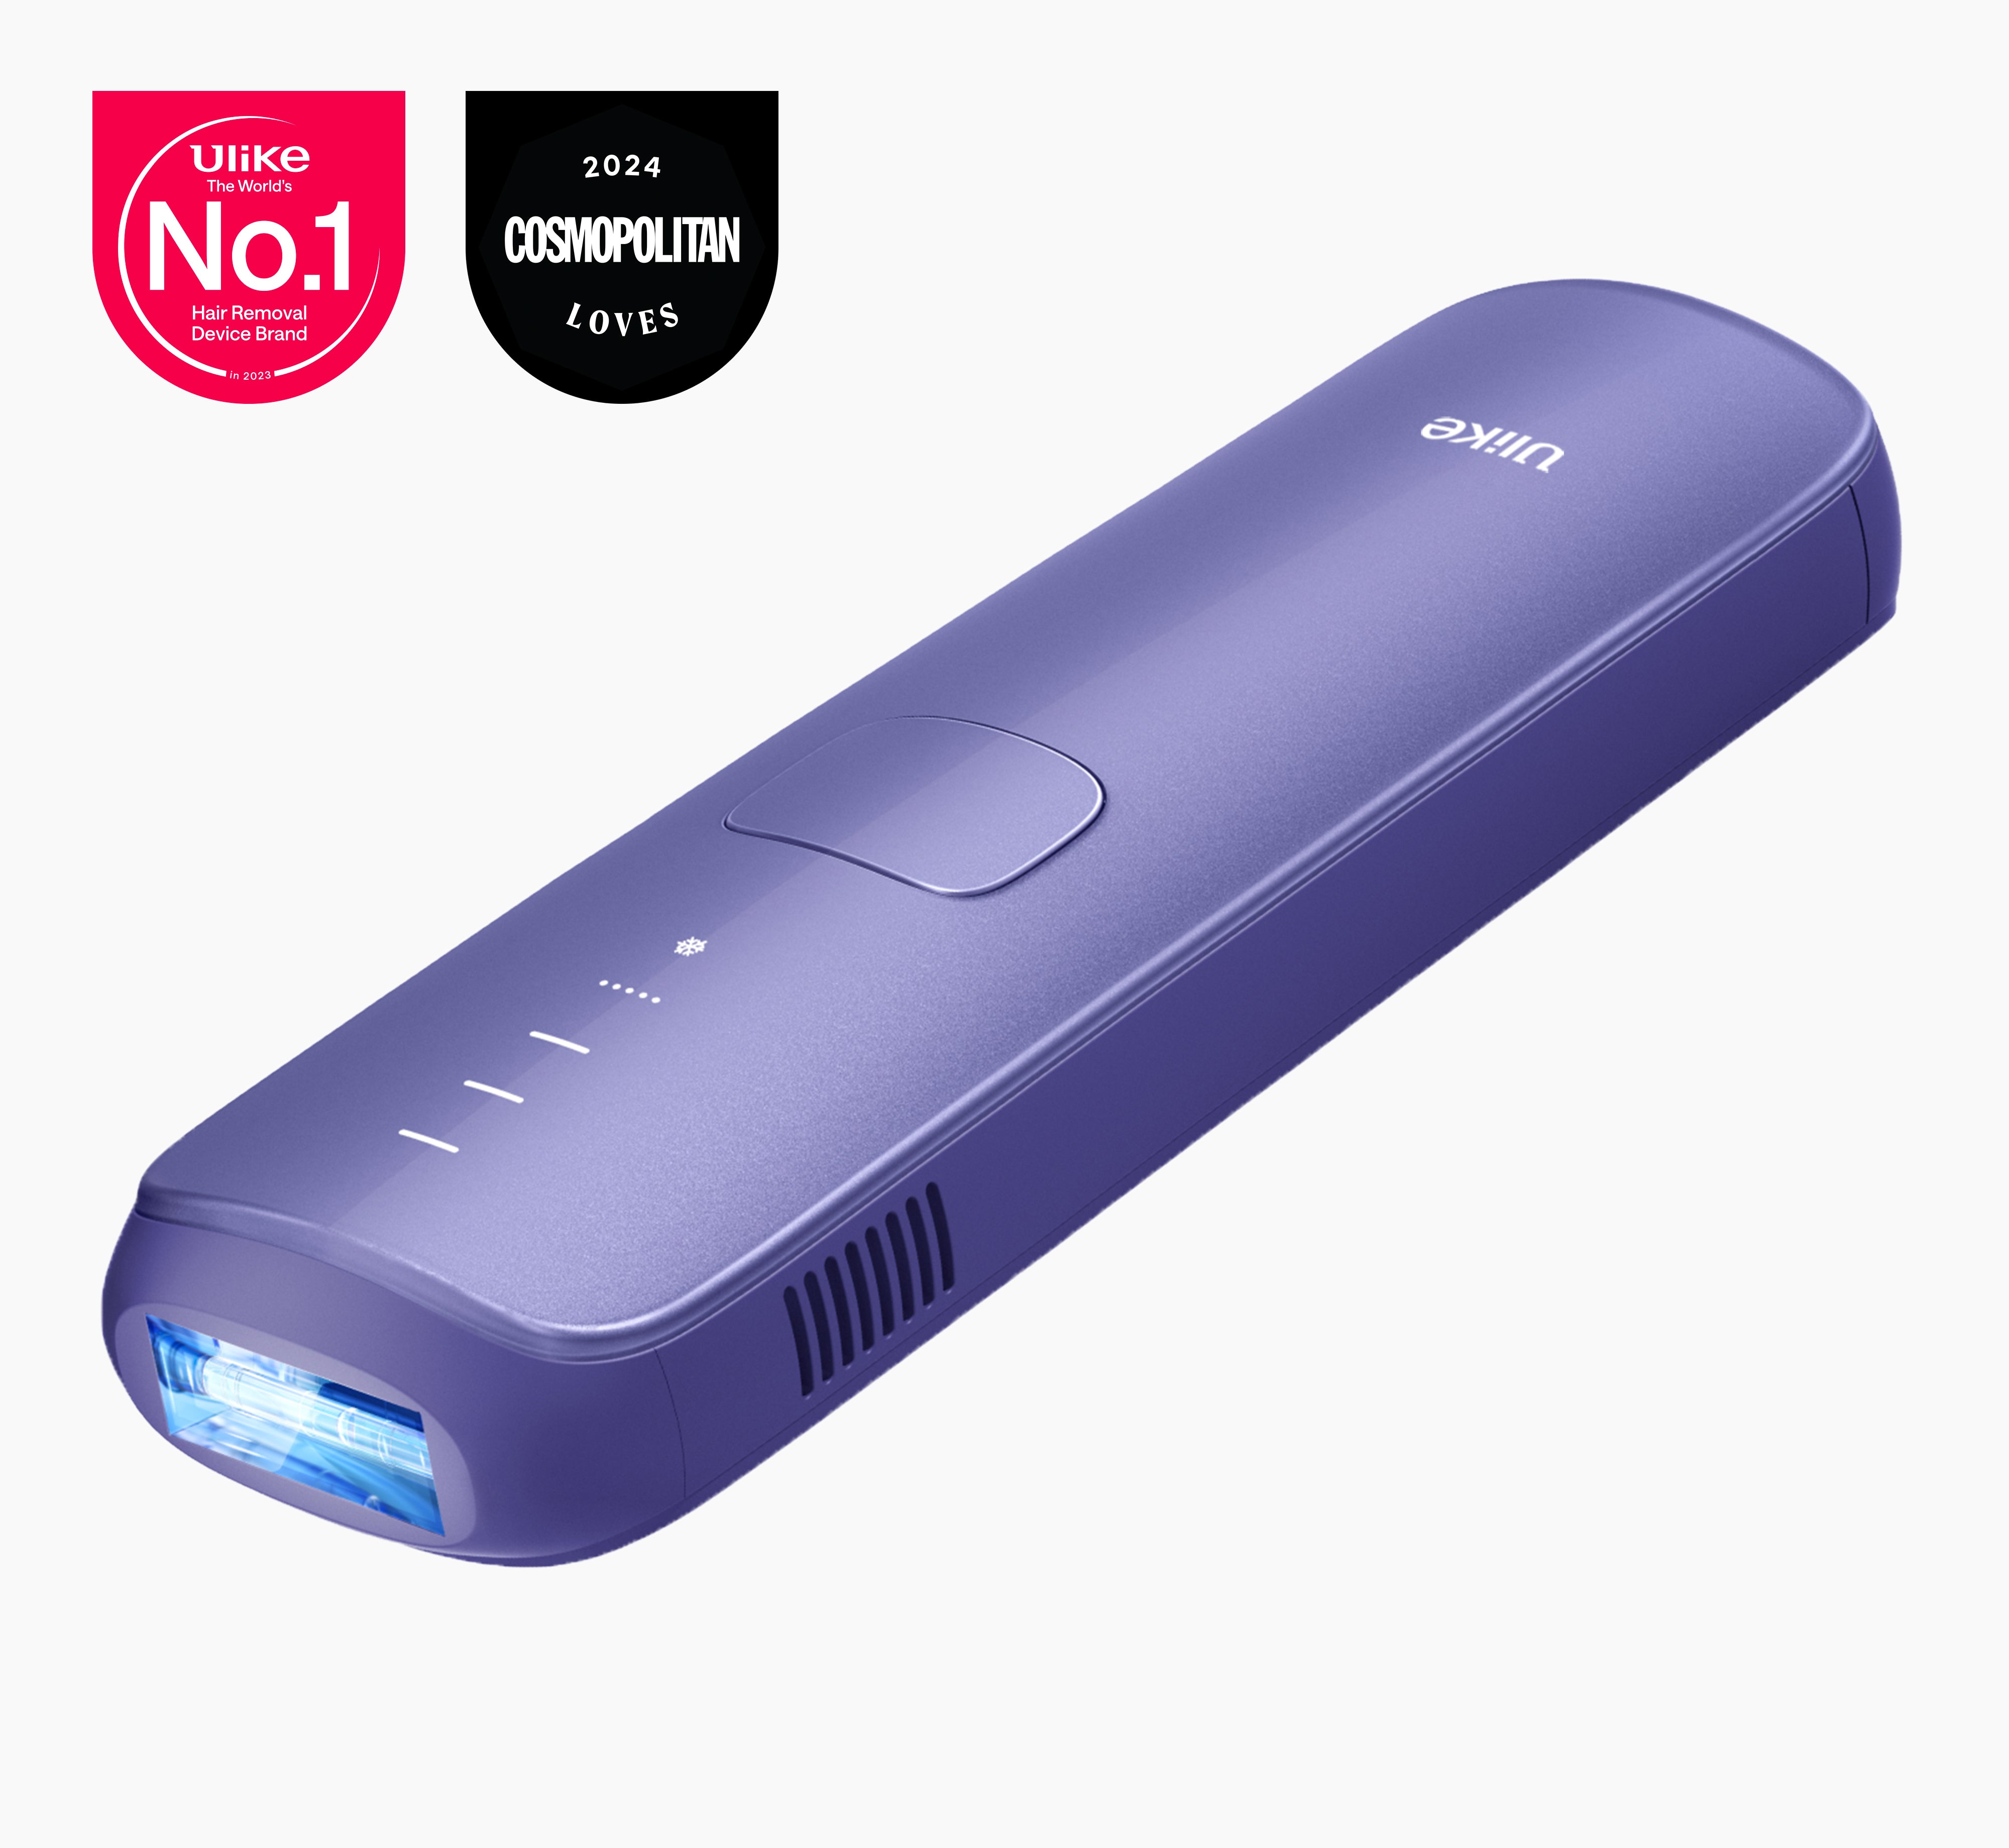
This must be your most anticipated step. There are two hair removal methods Sapphire Air3 offers, and three treatment modes. Use the large button (treatment button) on the front side, and also the power button to select the method or mode to use. Every method and mode has its best specific areas of use.
-
Spot Method
Use the Spot Method on small areas like the knees. To select Spot Method, short press the treatment button once for a single flash. Zap your knees and elbows ensuring every groove is treated. The Skin Sensor Indicator will light up immediately it detects skin and emits intense light.
-
Auto-Glide Method
With this method, you’ll treat the whole body in about 7 minutes only. The Auto-Glide is suitable for treating large areas like the legs and arms. To activate this method, press and hold the treatment button for 2 seconds. Glide Air3 over your skin and you won’t skip any area.
-
Gentle Mode
The area around your upper lip and underarms deserves gentle treatment. While using the Auto-Glide method, click on the power button and you’ll activate the Gentle Mode.
-
Body Mode
As you remove unwanted hair on your stomach, legs, or arms, click on the power button and the Body Mode will become active.
-
Power Mode
Like the Gentle and Body modes, light press on the power button to activate. Once each mode is activated, an indicator light will show up. You can also use the Power Mode when doing hair removal under your arms.
Step 6: Clean the Device After Use
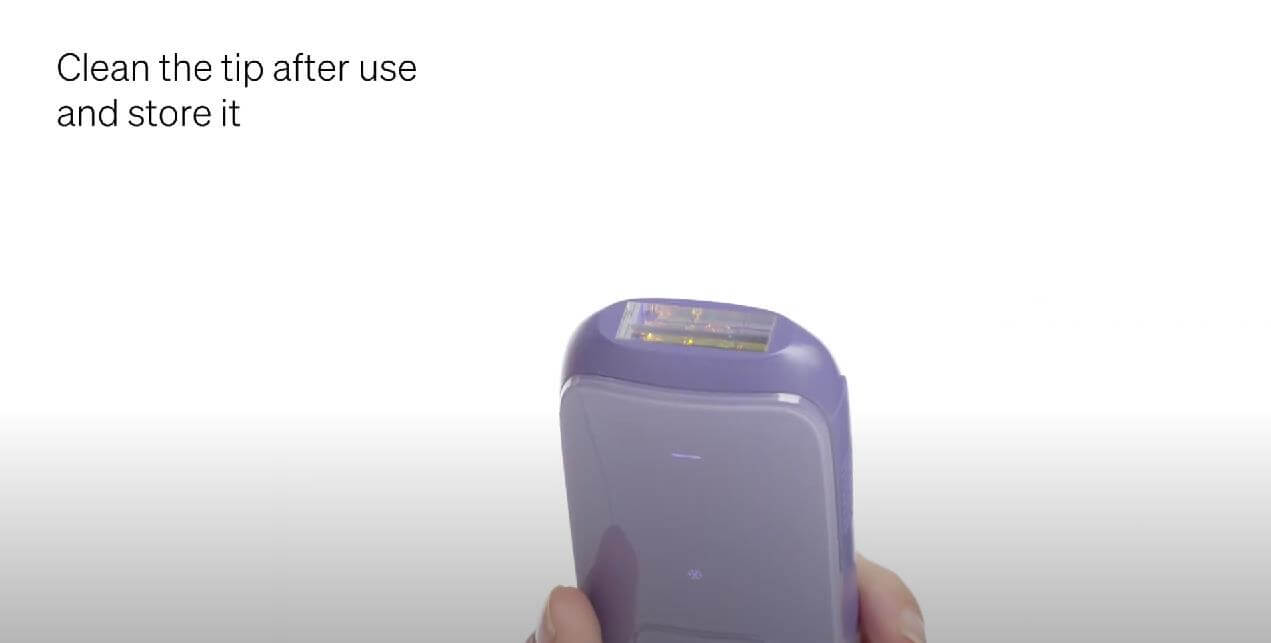
The head area is likely to attract your dead skin cells and other particles or dirt when gliding or zapping on your skin. Use a clean piece of cloth or towel to wipe out the device's light area and also on all the sides.
Step 7: Treat Your Skin
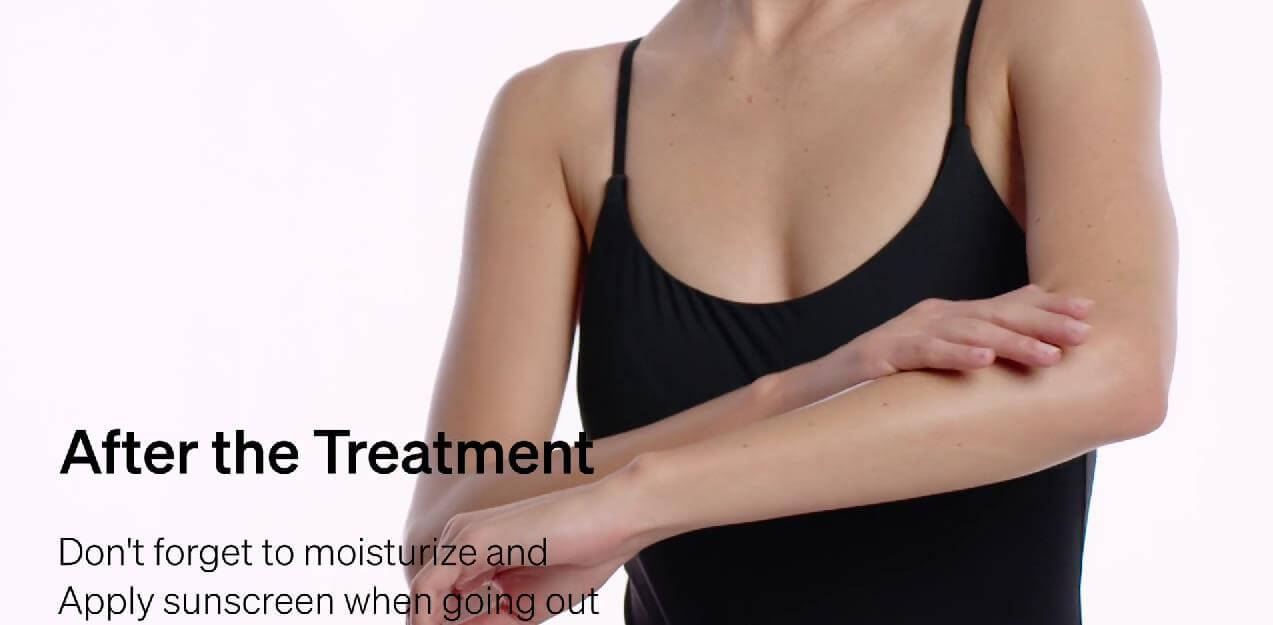
After treating your skin, it’s obvious you’ll want to go out. If you’ll expose the treated areas to sunlight, we recommend you moisturize and apply sunscreen to the skin before going out.
Also Read: How to Use Ulike Air Plus Device? (step-by-step)
Conclusion
If you’ve followed all the steps elaborated above, you’ll find it easy to use the Ulike Air3 IPL device while in the comfort of your home. Compared to other hair removal methods, this device is safer, and with consistency in your skin treatment sessions, you’ll achieve results within a short period.
We welcome you to buy a Ulike Air 3 IPL device on our official website with a $50 off coupon.
Hesitation about what? Hurry up and take action.

At-home Dating Ideas of Valentine's Day

The best Christmas gift for your wife/girlfriend

What's the best Christmas gift for dad?
Need guidance?

