How to Avoid IPL Missed Spots at Home

Missed areas usually come from coverage, not from the device itself. If your results look patchy, the problem is often a rushed pattern, poor contact, or tricky body curves.
The good news is that IPL missed spots are preventable. A simple routine can help you treat more evenly, stay within your device's guidance, and avoid going back over the same area too much.
If you want smoother coverage, start with prep, then work section by section.
Start with prep that keeps every flash useful
Good coverage starts before the first pulse. Shave the area first, then clean and dry the skin well. Lotion, oil, sweat, or leftover deodorant can make it harder to see where you've already treated, and they can also affect comfort.
Next, check your device manual for the right intensity level and treatment mode. Some areas need a lower setting than others, and some devices use different heads or modes for face, underarms, or body. If you're new to the device, start low and patch test first.
That first step matters more than most people think. A lower setting with careful placement is better than a strong setting with sloppy coverage.
If you need a refresher on setup and order of use, keep the Ulike IPL setup and usage tutorial close by before you begin a session.
A few prep habits make the rest easier:
- Shave close enough that hair is not sitting above the skin.
- Use clean, dry skin with no product on top.
- Check that the treatment window is fully clean.
- Match the mode to the area, if your device offers more than one.
When the skin is prepped well, you can see your coverage more clearly and move with less guesswork.
Map the area before you flash
This is where most patchy results begin to improve. Instead of tapping at random, divide the area into small zones before you start. Think of it as drawing a simple path through the skin so nothing gets skipped.
For example, a leg can be split into front, outer side, inner side, and back. An underarm can be treated in two or three small angles. A bikini line works better when you treat one side, then the other. That small structure helps you spot gaps before they turn into IPL missed spots.
A clean lane pattern also helps you avoid heavy overlap. One deliberate pass is easier to track than a scattered one.
| Area | Common miss | Better way to treat |
|---|---|---|
| Legs | Shins and the outer calf | Work in short lanes and re-check from a new angle |
| Underarms | The crease near the arm fold | Lift the arm fully, then treat the curve in parts |
| Knees | The top and side edges | Bend the knee slightly and treat the surface in sections |
| Bikini line | Uneven borders | Work one side at a time and keep the skin taut |
| Face | Small curves around the mouth or jaw | Use only approved facial settings and slow, careful placement |
The table is simple on purpose. You don't need a complex map. You just need a repeatable one.
A clean pass beats a rushed pass. One steady lane usually covers better than chasing tiny gaps while you're still in the same session.
If you want a deeper example of spacing and patch control, this patchy-results guide shows how a simple lane pattern helps keep coverage even.
Keep the device flat and move with purpose
Once you begin, the treatment window should sit flat against the skin. Full contact matters because it keeps the flash where it belongs and helps the sensor do its job. If the head is tilted, you can miss the edge of the area without noticing.
Use the motion your device is designed for. Some devices work best in stamp mode, where you place and lift. Others allow glide mode, where you move slowly and steadily. Your manual should tell you which mode to use for each area.
The goal is not speed. The goal is a pattern you can repeat without losing track.

Keep these habits in mind while you treat:
- Hold the window flat, not at an angle.
- Let the contact sensor confirm good placement before each flash.
- Move one window-width at a time if your device uses glide mode.
- Pause and realign if the skin curves away from the head.
- Don't keep firing into the same patch because you're unsure.
If you notice a small gap, finish the rest of the zone first. Then go back once, if your device instructions allow it. Repeated flashes on the same spot can raise discomfort without fixing the bigger issue.
For a clear walk-through of positioning and flash order, the step-by-step IPL hair removal guide is a helpful reference.
A smooth session often looks slow on purpose. That is a good sign.
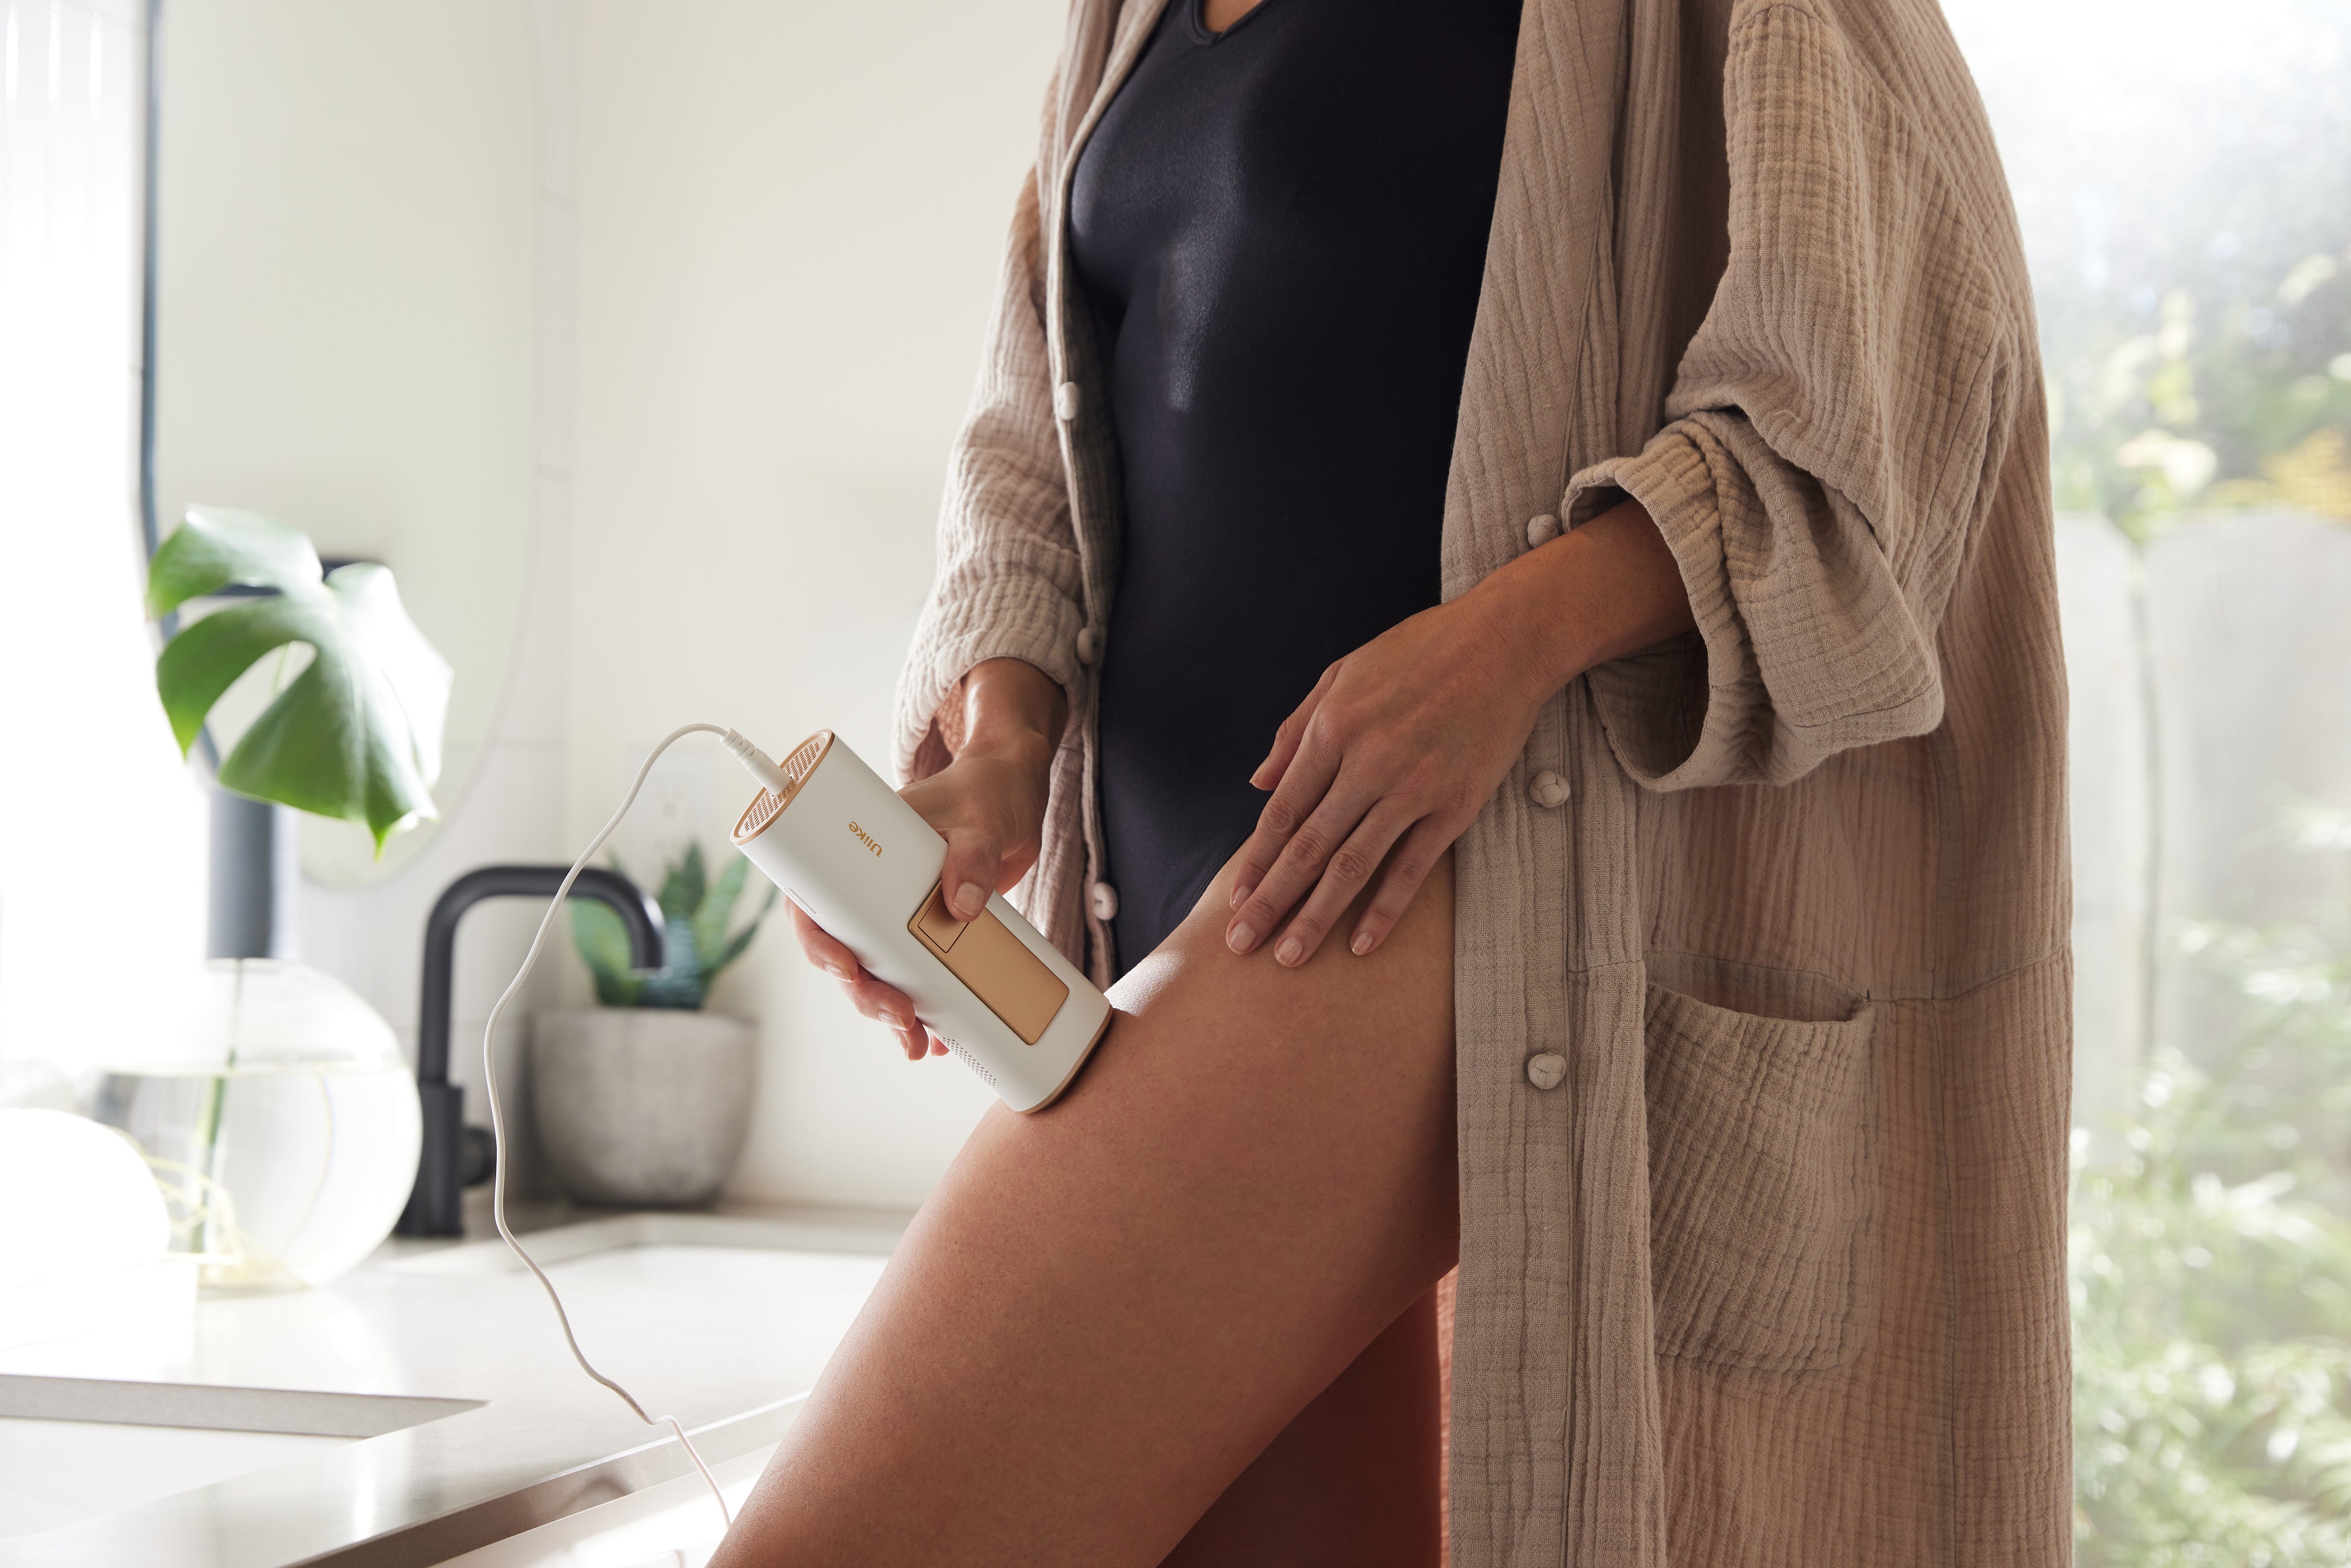
Treat tricky zones in smaller pieces
Curves are where even careful users lose coverage. Knees, shins, underarms, bikini lines, and the face all change shape as you move. Because of that, they need smaller steps and more attention.
Underarms and bikini line
These areas are tight, curved, and easy to rush. Raise your arm fully, then shift it a little to expose the fold. On the bikini line, keep to the area your device manual allows, and avoid treating skin that feels irritated or very sensitive.
Work one side first. Then move to the next. That keeps your spacing more consistent and helps you see what you've already done.
Knees and shins
The knee cap is tricky because the skin sits over bone and bends in different directions. Treat the top, side, and lower edge as separate parts. Bend the knee a little so the surface flattens out.
Shins can fool you too. The front is easy, but the outer edge and inner curve are where gaps show up. Slow down there and change your angle often.
Face
Use facial treatment only if your device is designed for it. Follow the exact attachment, intensity, and area limits in the manual. Keep away from the eyes and any area the instructions say to avoid.
Facial hair patterns are small, so missed spots stand out fast. A mirror helps, and so does good light. Still, the safest move is to stay within the device's approved use only.
Build a routine that makes gaps less likely
Consistency is what turns careful sessions into better results. If you treat at random intervals, it's easier to forget which zones got covered and which ones didn't.
A simple log can help. Write down the date, the setting you used, and any areas that felt harder to cover. You don't need a fancy app. A note in your phone is enough.
If your device manual recommends weekly or biweekly sessions, follow that plan. More flashes in one session do not replace regular use. In fact, they can make you more likely to lose track of the surface you've already treated.
The first few sessions can also look uneven before hair reduction becomes more visible. That is normal with at-home IPL. Results vary by skin tone, hair color, and device instructions, so patience matters as much as placement. If you want a clear idea of what the early stages can look like, this first-treatment guide explains why early sessions can feel uneven.
A few habits keep the routine steady:
- Treat on the same schedule your manual recommends.
- Recheck the most curved areas first.
- Use the same lane pattern every time.
- Stop if skin looks irritated or feels too warm.
If you keep the process simple, your results are easier to repeat.
Conclusion
Avoiding missed spots is mostly about control. Prep the skin well, map the area before you begin, keep the device flat, and slow down where the body curves.
That approach helps you reduce IPL missed spots without over-treating the same patch again and again. It also makes each session easier to repeat, which is where better results usually come from.
Follow your device manual, stay consistent, and keep your expectations realistic. When the routine is steady, the coverage gets better too.

Home IPL Laser Hair Removal — 2026 Complete Buying Guide
How Many IPL Sessions Does Ulike Take? Complete 12-Week Treatment Plan

Best At-Home IPL Hair Removal Devices 2026 — Ulike's Expert Picks
Need guidance?

Get a free one-on-one consultation
Explore Beauty
Ulike Air 10
2 weeks to silky smooth skin.
96% Hair Density Reduction in 2 Weeks
Ulike Air 3
3 weeks to silky smooth skin.
93% Hair Density Reduction in 4 Weeks

Ulike Air 4
4 weeks to silky smooth skin.
95.8% hair reduction in just 2 weeks*
Ulike Reglow
Clearer skin in 2 weeks: Fewer breakouts
Smoother skin in 4 weeks: Fewer lines, firmer feel