


How to Wax at Home Safely for Beginners? (Step-by-Step)


For Beginners, waxing is one of the safest and most trouble-free methods of hair removal. The results of waxing last longer than shaving plus no cuts and nicks on your skin. Going to a salon is nice but you don’t always have the time and energy to go out every month. Also, spending a large sum every month seems quite uneconomical.
So, you can try waxing at home. It is less expensive and more convenient. All you need to do is to buy wax, follow the proper instructions, and get your required results.
In this article, we will provide you with a step-by-step guide for using the wax and some tips to make it as effective as that of salons. If you are unable to find a suitable waxing kit, check out the 10 Best At-home Waxing Kits for Hair Removal to find your favorite!
How to Wax at Home Safely for Beginners?
Are you trying wax at home for the first time? Don’t be nervous and just follow the steps given below.
Waxing at home can be a rewarding experience, allowing you to achieve salon-like results without the added cost and travel.
1. Skin Preparation
The very first thing you need to take care of is your skin. Let’s see what to do.
Proper skin preparation is essential for successful waxing, as it helps to ensure better adhesion of the wax and minimizes discomfort.
Trim Your Hair

Before starting the wax, it is essential to ensure that your hair is three-fourths of an inch in length. This makes waxing easier and less messy. Furthermore, it will be less painful this way. If you have longer hair than this, you can trim them and then do the wax.
Exfoliate Your Skin
Exfoliation removes the dead skin cells, and dirt from your skin thus preventing the clogging of your hair follicles. This minimizes the risk of ingrown hair. Also, when the upper dead layer is removed, it is easier for the wax to pull hair from the root. Resultantly, exfoliation leads to better results.
Cleanse
The next step is cleansing your skin properly. Cleanse your skin to remove all the dirt, dust, bacteria, and oils accumulated on it. This prevents any infection or ingrown hair. You can use mild soap to clean the area well.
Dry the Skin

Lastly, you need to apply the wax on dry skin for it to work effectively. If your hair is wet, the wax won’t adhere properly which means no results. So, after cleansing, take a dry towel and pat your skin gently to dry it thoroughly, and then start the procedure.
2. Preparing the Wax
Hot wax is good for large areas and those areas with thick, coarse hair while cold wax is good for thin hair and small areas. Let’s see how to prepare each of them before using them.
Choosing the right type of wax based on the hair type and area will enhance your waxing experience and improve results.
Hot Wax

Hot wax needs to be warmed before application. For this, read the instructions on the wax package. Put the wax in a wax warmer and let it heat until it reaches the temperature written on the package. Also, keep checking the consistency and stop heating on reaching the required consistency.
Cold Wax
Unlike hot wax, cold wax doesn’t need any heating. They are pre-prepared and already applied to the wax strips for you to use. This makes cold wax suitable for your trips too.
Cold wax strips are particularly convenient for those new to waxing, as they eliminate the need for heating and are easy to use on-the-go.
3. Application of Wax

Now, our skin is ready and so is the wax. The next step is the application of wax. For the wax to work well, apply it in the same direction as your hair growth. Also, make sure that the wax is applied evenly. Being a beginner, you can start by applying small amounts and then take more as required to avoid any mess.
4. Removing the Wax
Some waxes need you to wait for some time while others can be removed quickly after the application. The time is usually written on the wax box. After that time, you need to hold your skin taunt and then remove the wax in the opposite direction to your hair growth. Be quick and remove the wax in one go.
5. Aftercare
Now you’ve got hairless skin. But to make it smooth and to minimize the after-effects of waxing, you need some aftercare.
Aftercare is crucial for maintaining skin health post-waxing, as it helps to soothe irritation and keep the skin smooth.
Hydration
Waxing deprives your skin of oil leading to dryness. To compensate for this, you need to hydrate your skin immediately after completing your waxing session. You can apply any lotion, gel, or other moisturizer but make sure it doesn’t have any chemicals. You can also apply serums enriched with vitamins to nourish your skin as well.
Exfoliation
For your skin to stay smooth and clear, exfoliation after wax is as necessary as hydration. You can use any gentle scrubs to exfoliate the skin and get rid of dirt, bacteria, and other impurities. This prevents ingrown hair and gives your skin a soft touch. Keep in mind that you need to wait for 24-48 hours before exfoliating.
Some Tips for Waxing at Home for Beginners
Although the above-mentioned steps are enough to wax your body hair perfectly, some tips can make it even safer and more effective.
Avoid Retinoids
Usually, your skincare products contain retinoids or retinol that make your skin delicate and easy to rip off. Waxing is already painful and a bit damaging for your upper layer, retinoids make it even worse. So, stop using any product with retinoids a week before waxing to let your skin be strong enough to bear the wax pull without tearing apart.
Be Quick

You need to be quick while removing the wax from your hair. A rapid pull has more force, so your hair will come out from the roots without breaking midway. The pain will also go in an instant. On the other hand, if you slowly remove the wax, it will be less efficient and more painful.
Do a Patch Test First
When you heat the wax, the temperature might be too high to burn your skin. Also, the wax can cause allergic reactions to your skin. Instead of using it recklessly, apply a small amount in a small area first and see if it goes fine. This will keep you safe from redness, itching, burns, or any unwanted pain.
Avoid Sun Exposure

When you wax, your skin gets sensitive as the upper layer of the skin is damaged. It needs time to heal. When you go in the sun, the UV rays can cause hyperpigmentation, and sunburns, and disrupt the epidermis even more. Therefore, it is better to avoid the sun or at least apply sunscreen before going out.
Select the Right Wax
Mainly, there are two types of waxes: hard and soft wax. The soft wax is good for larger areas like your arms and legs and removes even the thin and tiny hair but it is more painful. Hard wax is less painful and good for sensitive areas like your bikini area, underarms, and upper lips. So, choose the right wax and get better results.
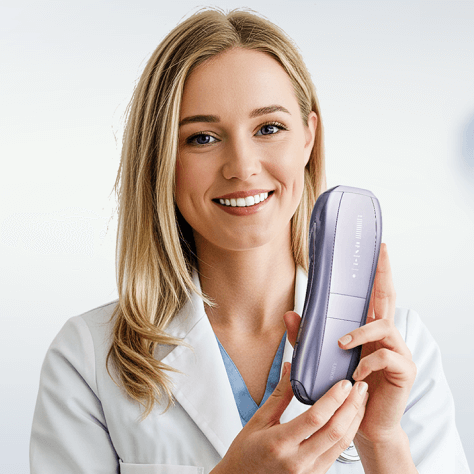
A Better Solution

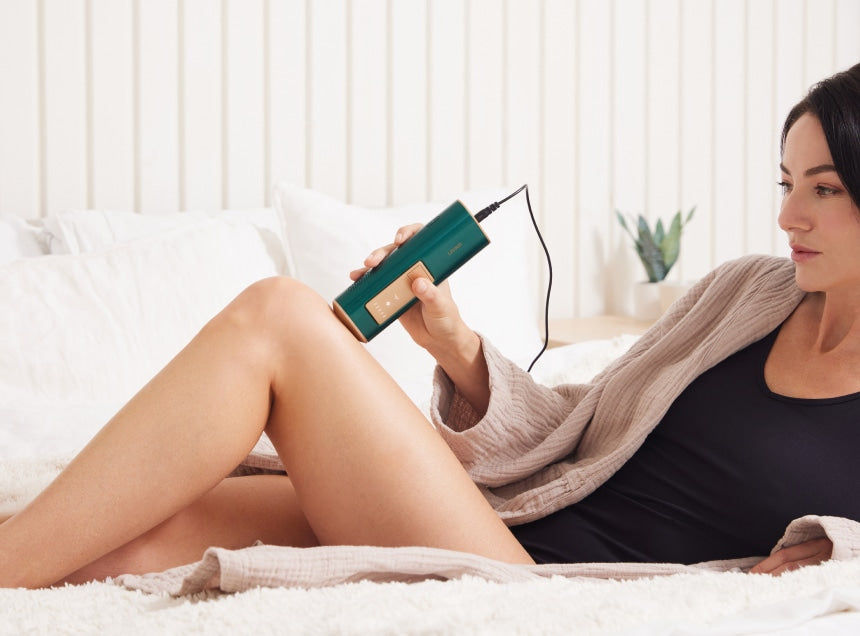
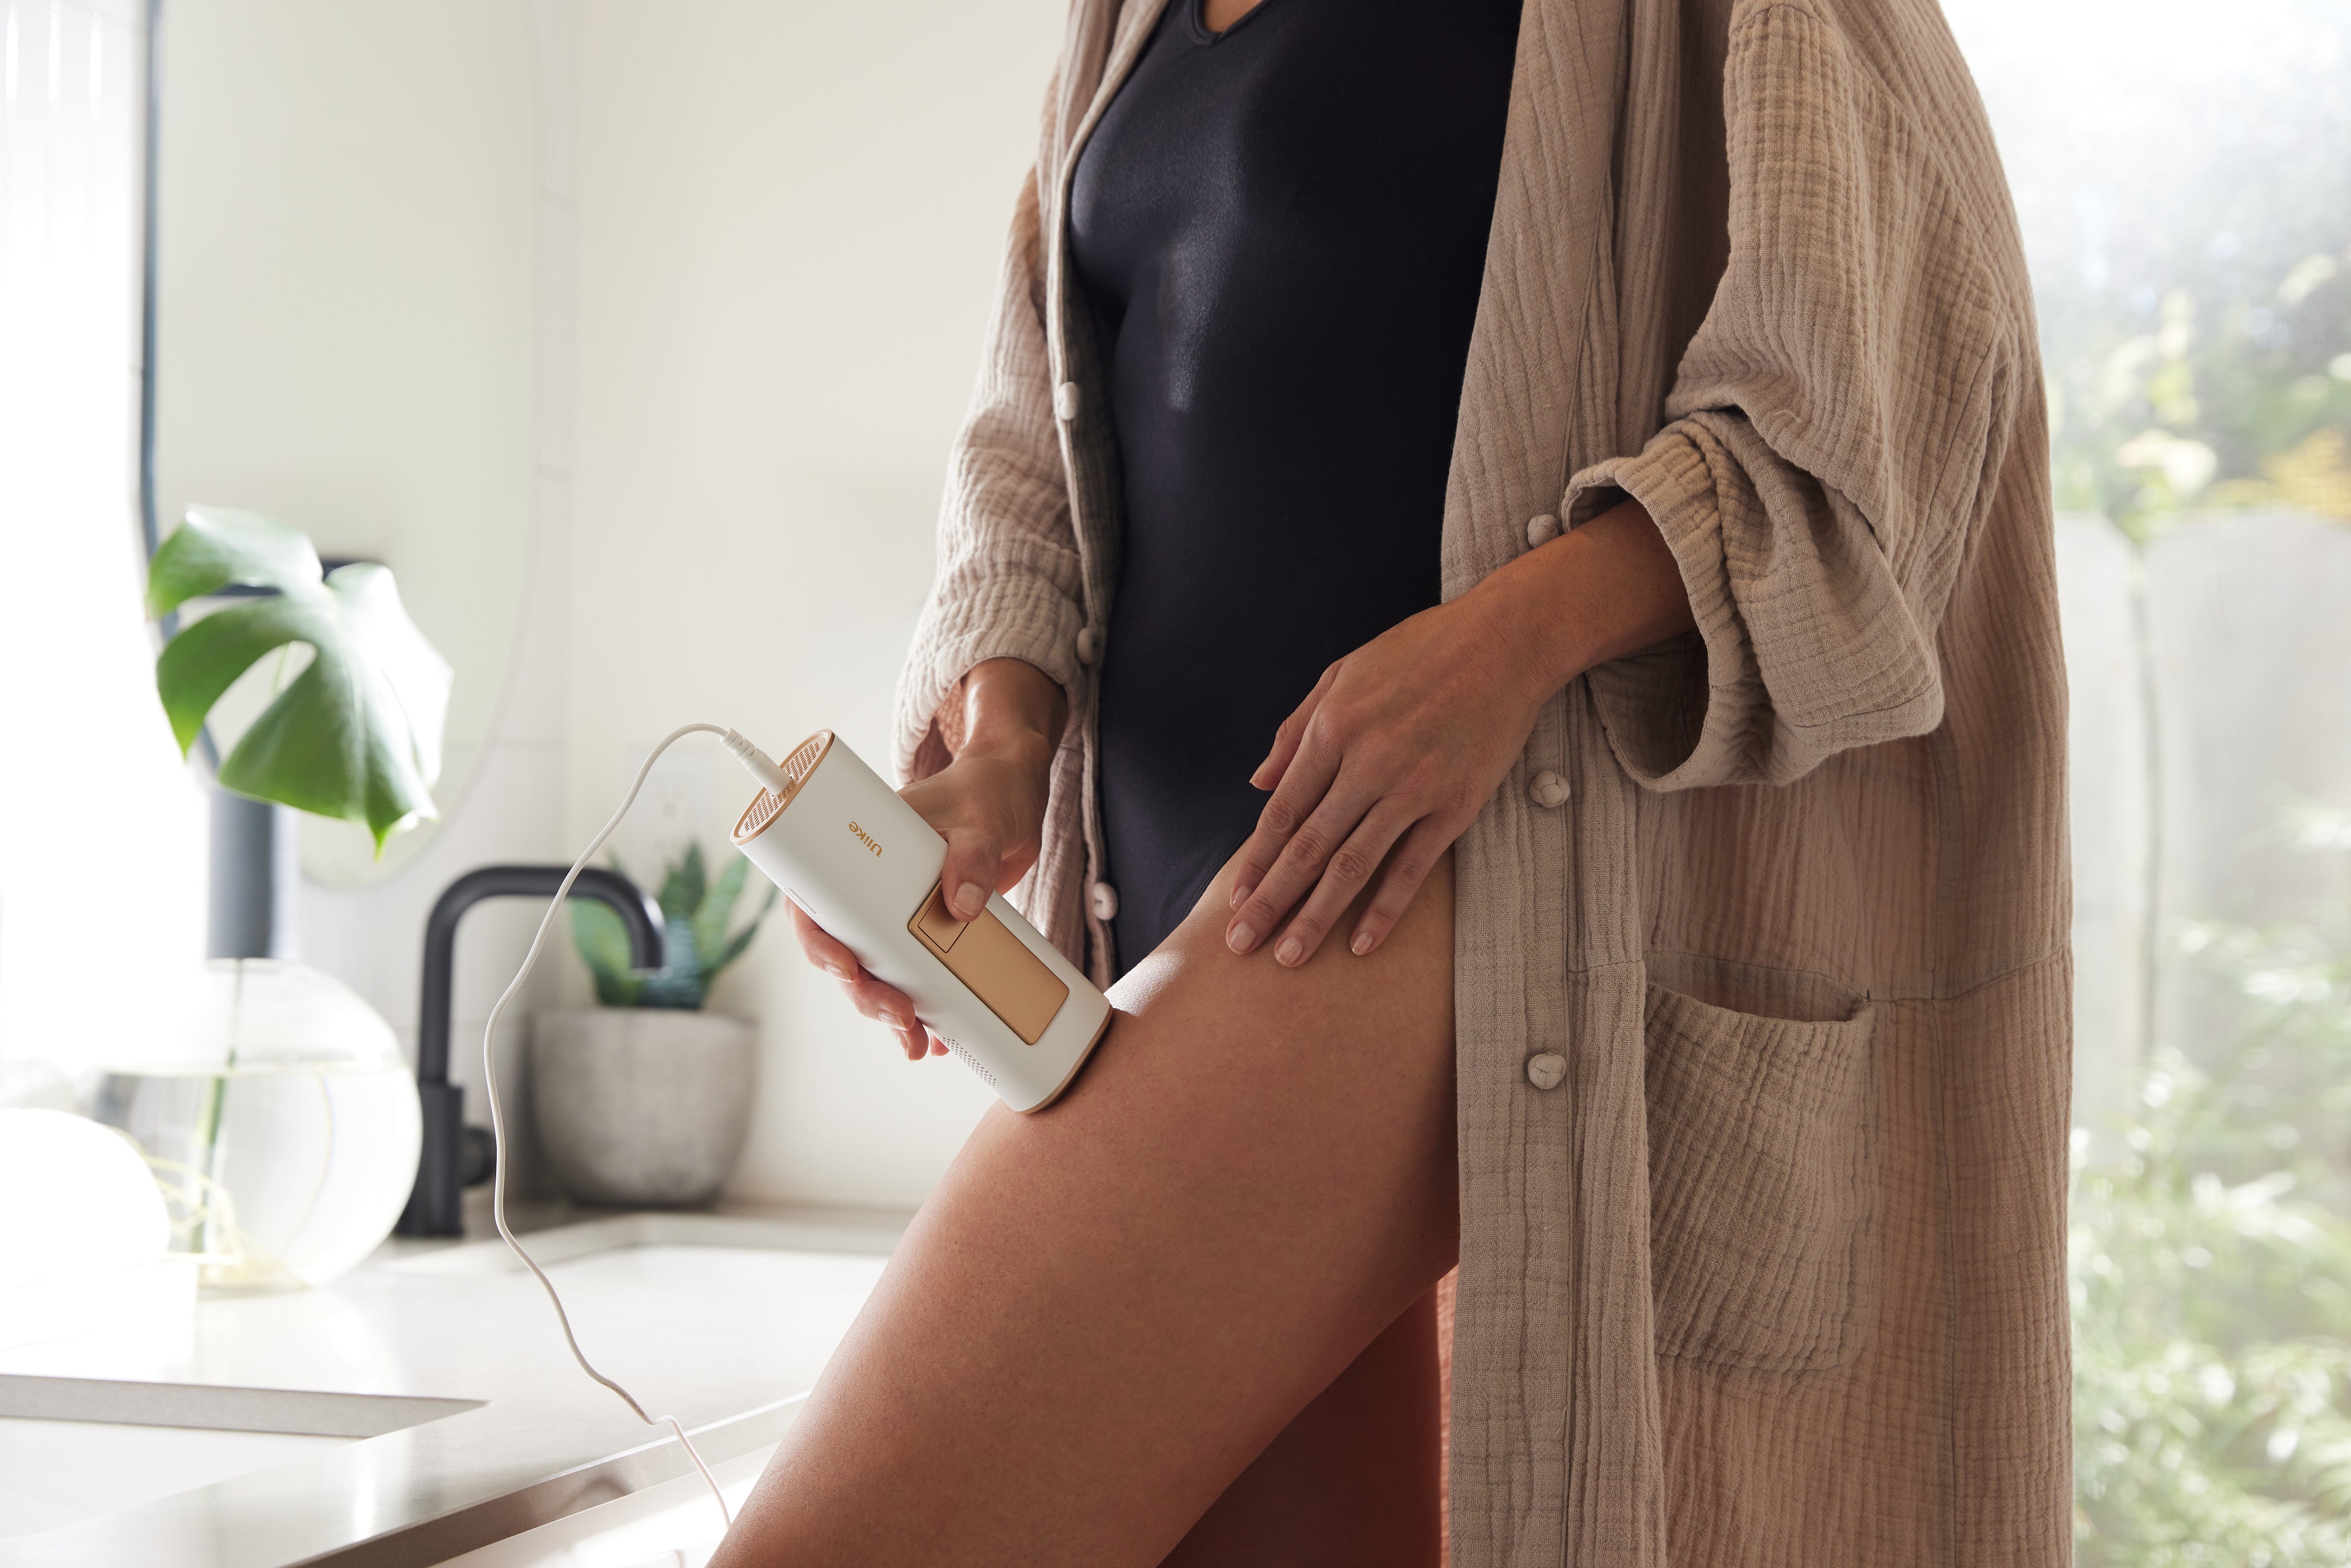
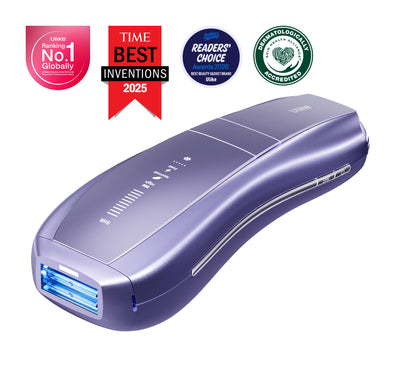
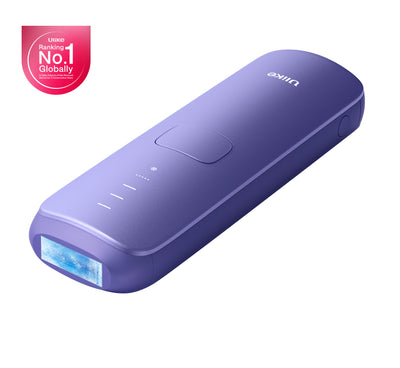
Waxing is usually painful. It also causes redness, irritation, bumps, and folliculitis. As a beginner, you might dislike it. We Have another option for you. You can use the Ulike Sapphire Air3 IPL Hair Removal Handset to get rid of all unwanted hair without any pain. Moreover, this hair-removal device:
-
Has ice-cooling technology to soothe your skin making the procedure nearly painless
Ice-cooling technology can enhance your waxing experience by reducing discomfort, making it a more pleasant process.
-
Starts showing results in just 3 weeks
Results in just 3 weeks indicate that you may observe a noticeable difference in hair reduction relatively quickly.
-
Shows long-lasting results after 4-month sessions
Long-lasting results after 4-month sessions suggest that continued use may lead to more permanent hair reduction.
-
Is FDA-CLEARED
FDA clearance indicates that the product has undergone rigorous testing to ensure it meets safety and effectiveness standards.
-
Has 3 different modes which can be adjusted according to the area you are treating
Adjustable modes allow you to customize the waxing experience based on sensitivity and the specific area being treated.
-
Has an ergonomic design to fit your hands perfectly and make your experience worthwhile
An ergonomic design enhances comfort during use, reducing strain on your hands while waxing.
Ice-cooling technology can enhance your waxing experience by reducing discomfort, making it a more pleasant process.
Results in just 3 weeks indicate that you may observe a noticeable difference in hair reduction relatively quickly.
Long-lasting results after 4-month sessions suggest that continued use may lead to more permanent hair reduction.
The Handset looks a lot more expensive than waxing but it can be used for a lifetime. On the other hand, if we buy a wax kit for $20-$30 per month, it can go up to $240 to $360 per year and above $10,000 for the whole lifetime. Hence, Ulike Sapphire Air3 is a lot cheaper than waxing.
Comparison Table
The following table is a short comparison of hair removal techniques feasible for beginners. To know the details, you can read Waxing vs IPL Hair Removal .
|
Parameters |
Waxing |
Ulike Sapphire Air3 IPL Hair Removal |
|
Cost |
$20-$30 per kit |
$329 for a lifetime |
|
Treatment Time |
10-60 minutes/session |
7 minutes/session |
|
Results |
Lasts for 4-6 weeks |
Lasts for above 6 months |
|
Compatible Body Areas |
All |
All |
|
Compatible Skin tone and Hair color |
All |
Light skin and Dark hair |
|
Painful |
Yes |
No |
|
Risk of Ingrown Hair |
Yes |
No |
|
Effect on Skin’s Protective Barrier |
Weakens it |
No Effect |
Conclusion
Waxing at home makes hair removal easy and economical. You can use hard wax for small areas while soft wax for larger areas. To make your session worth it, clean and dry your skin before waxing and then apply the wax. Remove it in the opposite direction to the application and hydrate your skin afterward. Just these easy steps and you are done.
Pulling the hair from roots is painful and if the pain is unbearable, you can go for at-home IPL hair removal by using Ulike Sapphire Air3 Handset. It is nearly painless with results lasting longer than waxing.
For those seeking an alternative, IPL hair removal is often considered a less painful option, making it a viable choice for beginners.


Home IPL Laser Hair Removal — 2026 Complete Buying Guide
How Many IPL Sessions Does Ulike Take? Complete 12-Week Treatment Plan

Best At-Home IPL Hair Removal Devices 2026 — Ulike's Expert Picks
Need guidance?

Get a free one-on-one consultation
Explore Beauty
Ulike Air 10
2 weeks to silky smooth skin.
96% Hair Density Reduction in 2 Weeks
Ulike Air 3
3 weeks to silky smooth skin.
93% Hair Density Reduction in 4 Weeks

Ulike Air 4
4 weeks to silky smooth skin.
95.8% hair reduction in just 2 weeks*
Ulike Reglow
Clearer skin in 2 weeks: Fewer breakouts
Smoother skin in 4 weeks: Fewer lines, firmer feel