


How to Choose the Right IPL Intensity Setting

The highest IPL setting is rarely the best one. A safer choice depends on your device, your skin tone, your hair color, and the area you treat.
That means your best starting point is not a guess, and it's not someone else's routine from social media. Read the manual first, because what works on legs may be too much for underarms or the face.
If you want steady at-home results without overdoing it, start with the device rules and move up slowly. That approach is calmer, safer, and easier to repeat.
Start with the device manual, not guesswork
Every IPL device has its own limits. Some models offer several energy levels, some add gentle modes, and some adjust output with a skin sensor.
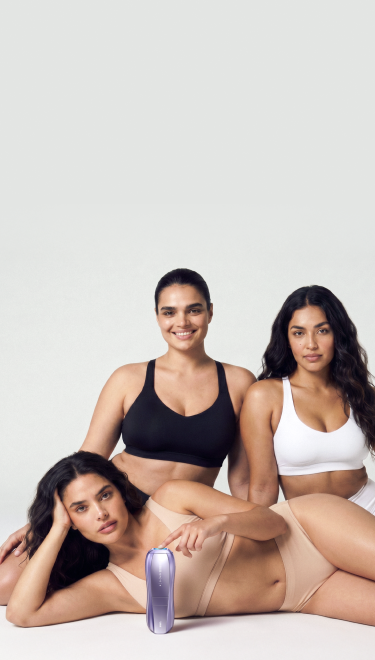
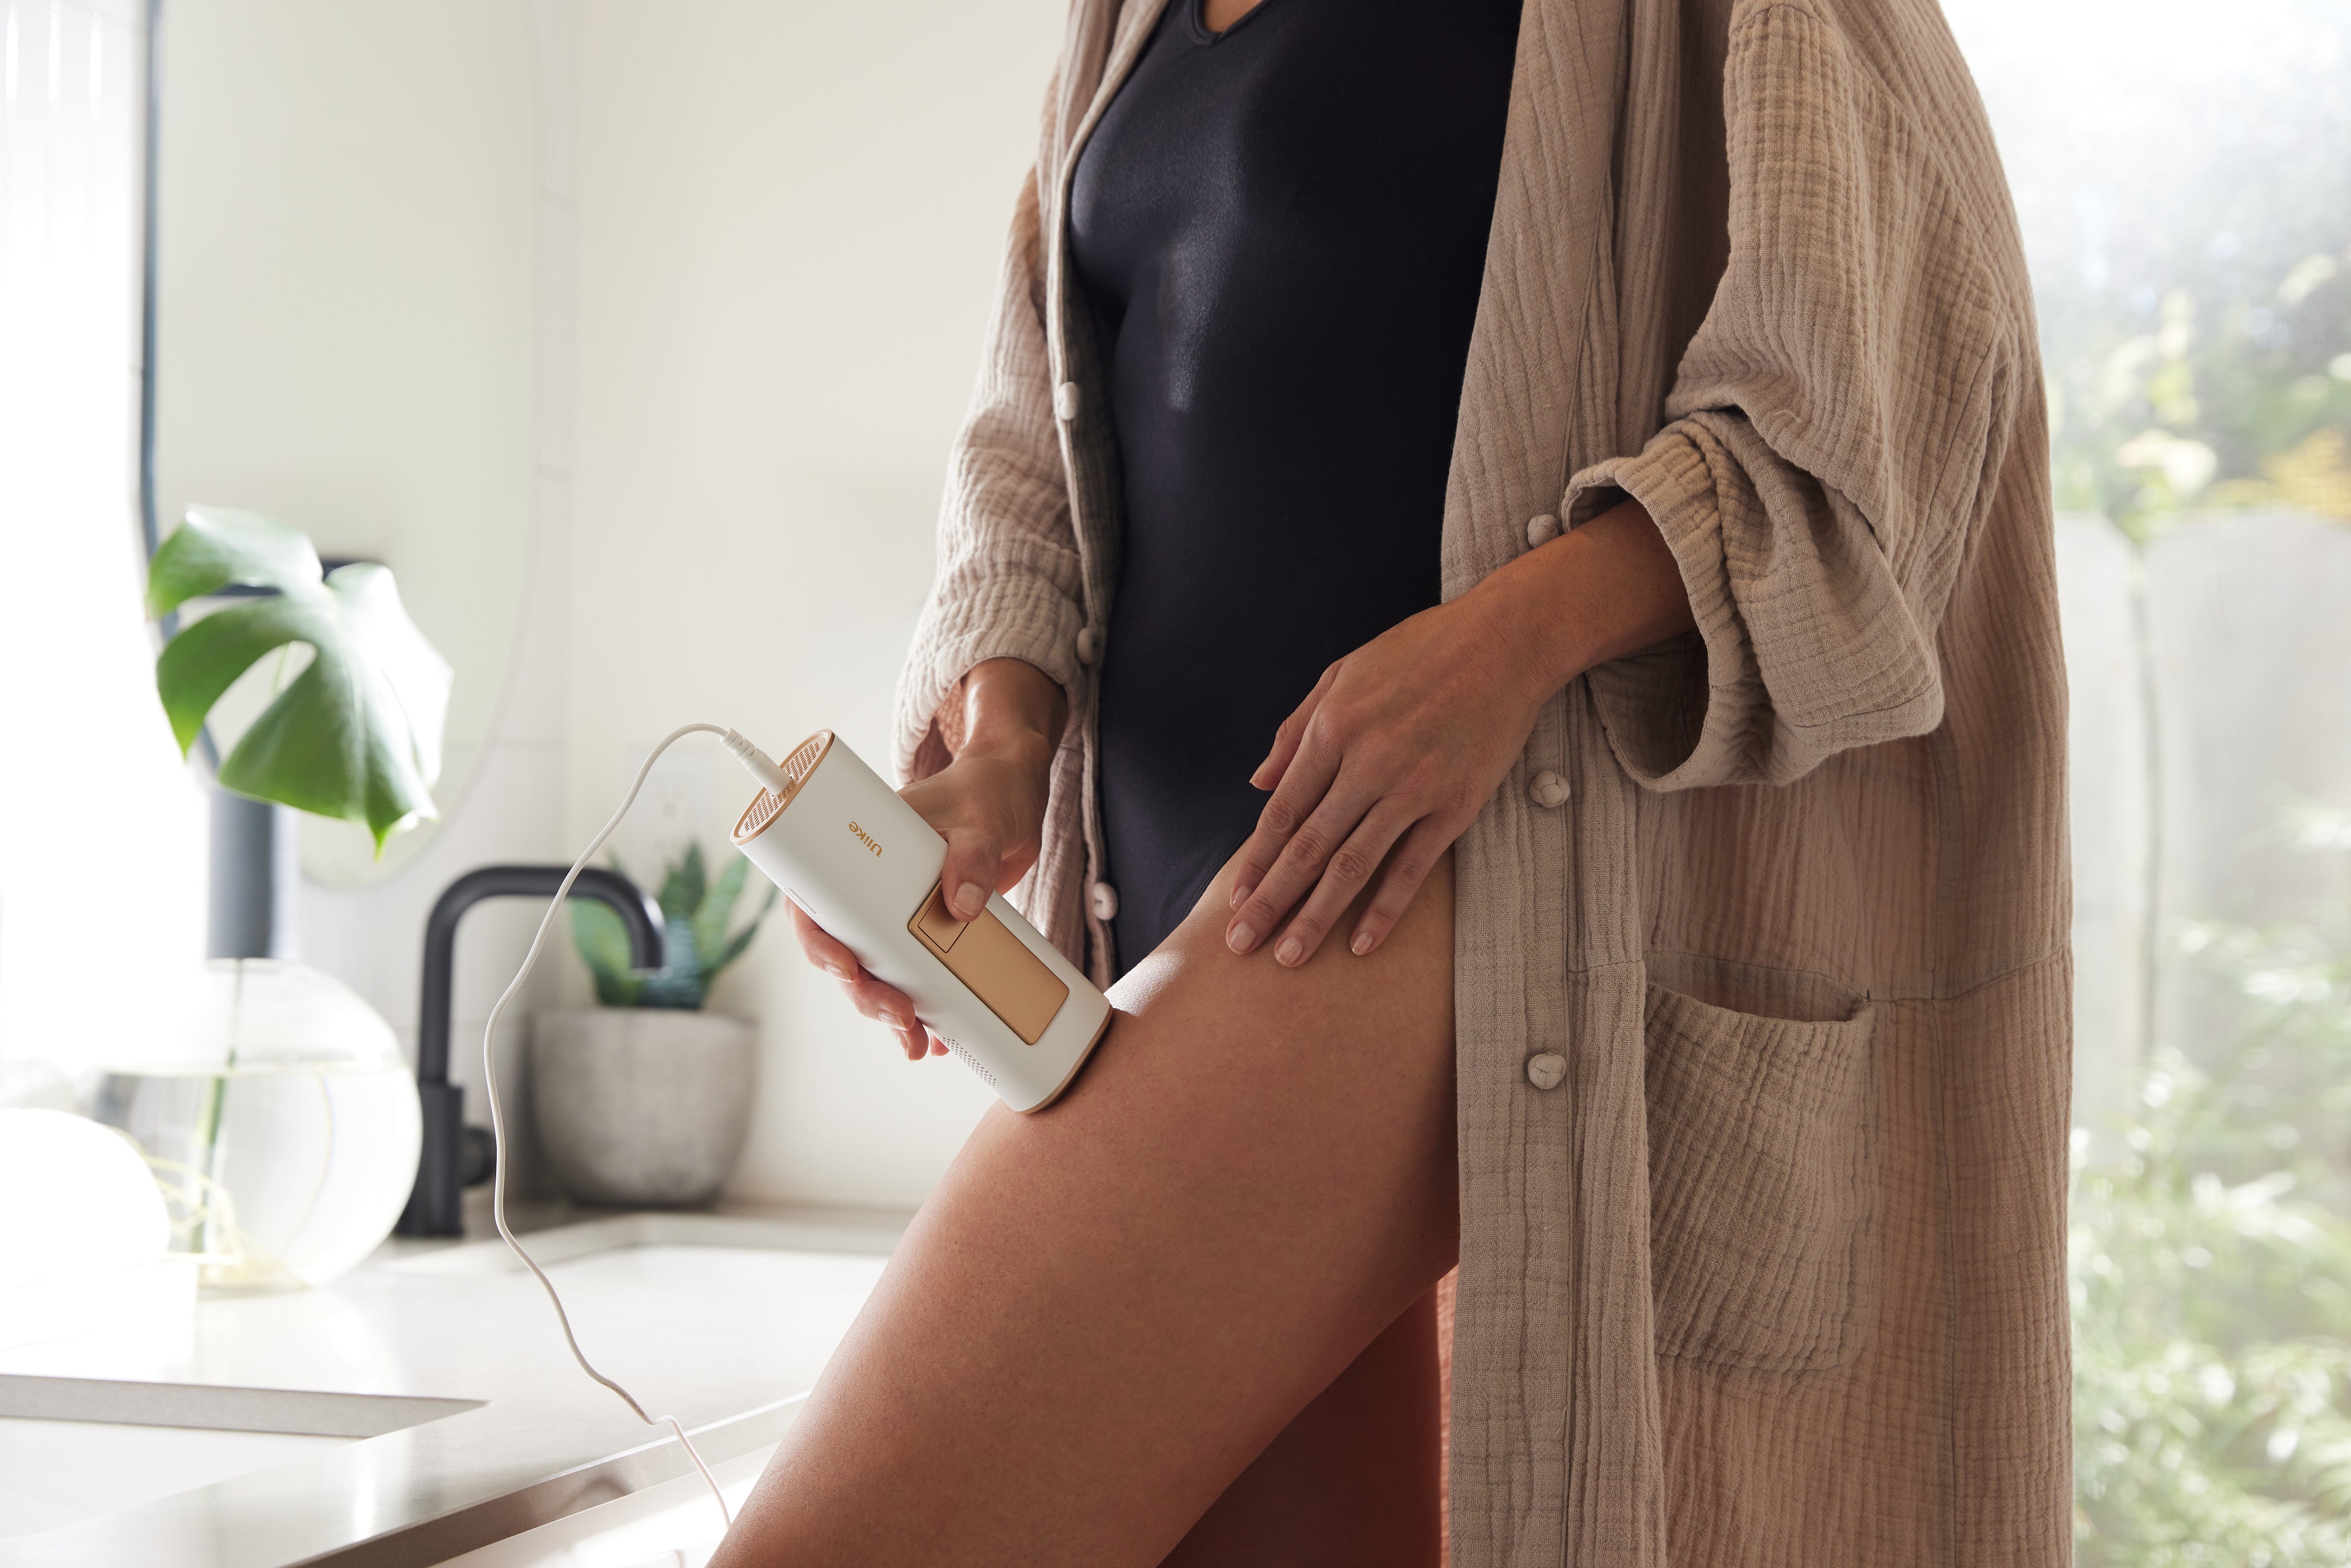
That's why the right setting is never a fixed number you can copy from another user. If you're using a Ulike handset, the official Ulike device instructions show the setup and treatment steps for that model.
Before your first session, check three things. First, confirm which skin tones and hair colors are approved. Second, see whether the face, bikini line, or other sensitive zones are allowed. Third, note the starting level the manual recommends.
A patch test belongs here too. Philips' at-home IPL advice recommends testing a small spot 24 hours before the full treatment. That's smart with any new device or new setting.
Skip any area that is sunburned, broken, or freshly irritated. If the manual says a body area or skin type isn't suitable, stop there. The safest IPL intensity setting only matters when the device is right for your skin in the first place.
Match the setting to your skin tone and hair color
IPL works best when the light can target pigment in the hair. Braun's hair-color guidance notes that IPL is most effective on light to medium skin with natural blonde, brown, or black hair. It tends to work less well on light blonde, red, gray, and white hair.
That doesn't mean you should keep turning the device up if results seem slow. Hair color places limits on what IPL can do. A stronger setting won't fix hair that doesn't absorb much light.
Skin tone matters too. If your skin tone sits near the edge of the approved range, start at the lowest approved level and patch test first. Darker skin contains more melanin, so some devices limit where and how they can be used.
If your device has an automatic skin sensor, treat it as a guide, not a shortcut. The sensor helps, but the manual still matters. Use the chart, then stay within the safe range for your skin.
A simple rule works well here. Start low, check your skin, and only move up when the lower setting feels too mild and your skin stays calm.
Let body area guide your first setting
Some body areas handle IPL better than others. Large, flatter zones usually tolerate a slightly stronger start than curved or delicate areas. Friction matters too, because clothing and movement can make skin more reactive.
A quick comparison can help you choose a safe starting point.
| Body area | Good starting approach | Why it helps |
|---|---|---|
| Legs | Start low to medium, then adjust after a patch test | The skin is usually less reactive, and the area is easier to cover evenly |
| Underarms | Start low | The skin is thinner and friction can make it more sensitive |
| Bikini line | Start at the lowest comfortable setting | This area is more sensitive and often needs a gentler start |
| Face | Use only if your manual allows it, and begin at the lowest setting | Facial skin is delicate, and not every device is approved here |
The pattern is clear. Bigger areas can sometimes handle more, while sensitive zones should begin at the bottom of the range. If your device offers a gentle mode, use it for underarms, bikini line, and any approved facial use.
If the face isn't listed in the manual, don't use the device there. For approved facial areas, stay away from the eye region and follow the device guide exactly.
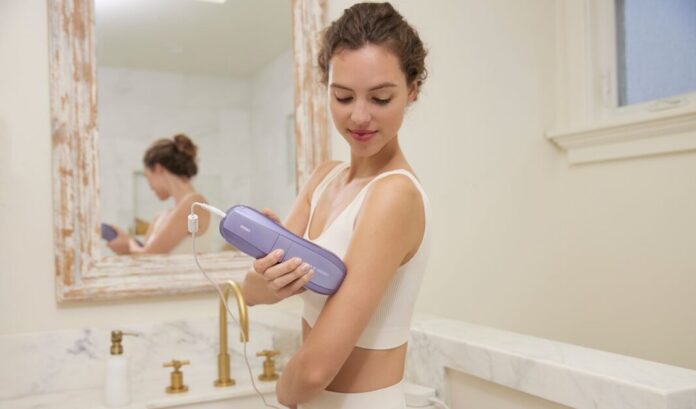
Patch test, then adjust one step at a time
Before your first full session, test one small area and give it a full day. That simple pause tells you more than a jump to a higher level ever will.

Start with the lowest approved level on a small patch of skin. Wait the amount of time your manual gives you, usually 24 hours, and watch for redness, bumps, or lingering heat.
If the skin looks calm, use that same setting for the first full treatment. Only move up one level at a time after a session or two, and only if the lower setting feels too mild.
Keep notes on the area, setting, and how your skin reacted. A tiny record makes the next session easier. It also keeps you from guessing when you come back a week later.
If you want a model-specific walkthrough, the Ulike Air 4 at-home guide explains prep, modes, and aftercare in a clear order.
That slow approach matters because IPL results build over time. One calm session tells you more than a rushed one. If you keep changing levels too fast, it gets harder to tell what your skin actually likes.
Stop if the setting crosses the line
The best IPL setting is noticeable, but manageable. If it feels sharp, stings for too long, or leaves skin angry, lower it.
A good session should feel controlled, not punishing.
Watch for these red flags:
- Prolonged pain after the flash
- Blistering or broken skin
- Severe irritation that keeps getting worse
- Redness that does not settle within the time your manual allows
If any of those show up, stop using the device on that area. Let the skin recover, then review the manual before you try again.
Aftercare matters too. Clean, calm skin gives you a better read on the next session. If you scrub hard, use harsh products, or chase a higher setting too soon, you make it harder to judge what works.
A good habit is to treat comfort as part of the result. If the lower setting gives you a calm session, that is useful progress. You don't need to prove anything by pushing higher.
Conclusion
The right IPL intensity setting is the one that fits your device, your skin, and the area you're treating. The manual comes first, then the patch test, then small increases only when your skin stays calm.
Legs may handle more than underarms, and the bikini line or face usually need a gentler start. When in doubt, stay low and move slowly. That gives you the best chance of safe, steady at-home use without pushing past your skin's limit.
Home IPL Laser Hair Removal — 2026 Complete Buying Guide
How Many IPL Sessions Does Ulike Take? Complete 12-Week Treatment Plan

Best At-Home IPL Hair Removal Devices 2026 — Ulike's Expert Picks
Need guidance?

Get a free one-on-one consultation
Explore Beauty
Ulike Air 10
2 weeks to silky smooth skin.
96% Hair Density Reduction in 2 Weeks
Ulike Air 3
3 weeks to silky smooth skin.
93% Hair Density Reduction in 4 Weeks

Ulike Air 4
4 weeks to silky smooth skin.
95.8% hair reduction in just 2 weeks*
Ulike Reglow
Clearer skin in 2 weeks: Fewer breakouts
Smoother skin in 4 weeks: Fewer lines, firmer feel